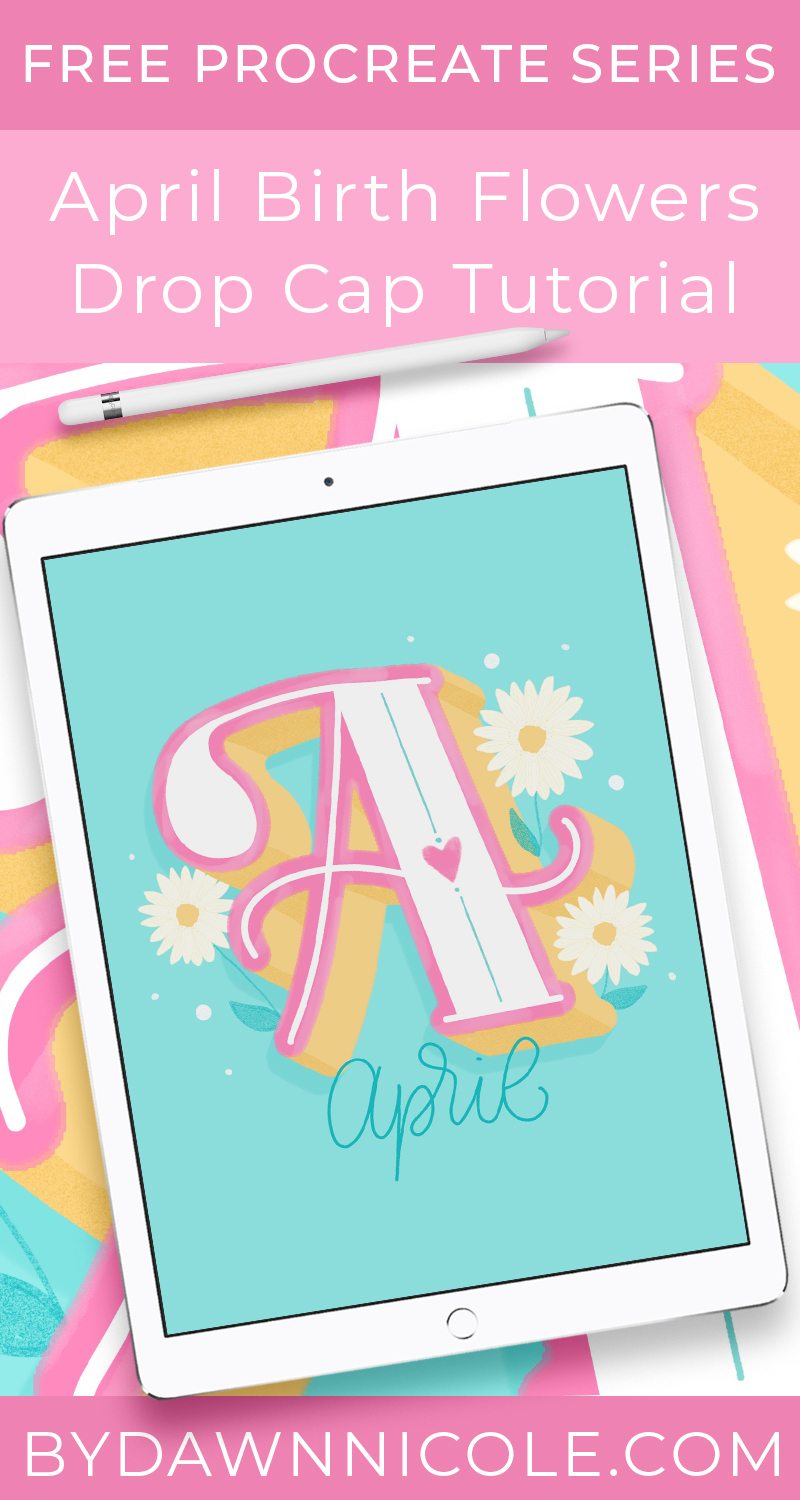
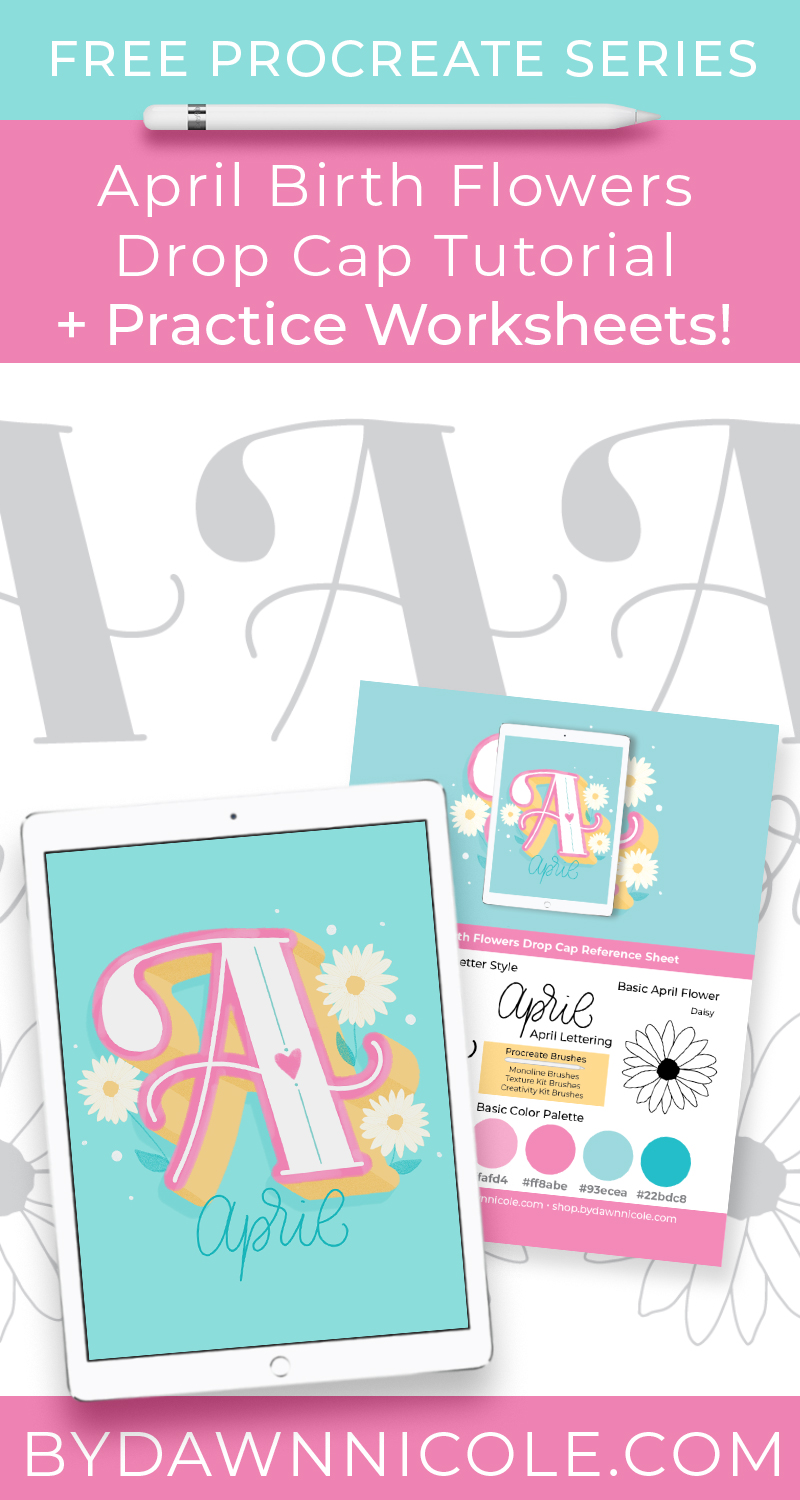
April Birth Flowers Drop Cap Tutorial. Follow along with my video lesson to create this Daisy drop cap in Procreate.
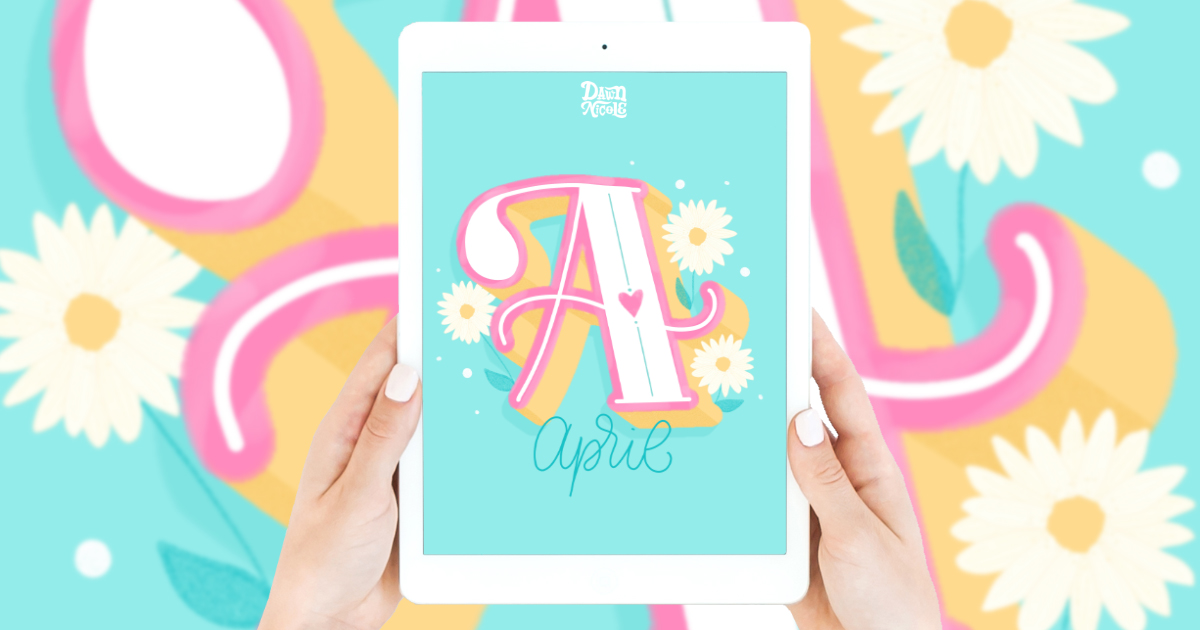
April Birth Flowers Drop Cap Tutorial
We’re chugging along in this year-long Free Procreate Video Tutorial Series! If you’re new to the series, I recommend completing the previous lessons first and then coming back to this one, as some lessons build on things taught in prior tutorials.
- January Birth Flowers Drop Cap Tutorial
- February Birth Flowers Drop Cap Tutorial
- March Birth Flowers Drop Cap Tutorial
The birth flower for this month is the Daisy, and I made you a Free Procreate Stamp Brush you can download and use. You can also draw your own daisies from scratch, of course!
What You’ll Need to Follow Along
- iPad and Apple Pencil
- Procreate App
- Cheery Daisies Color Palette (download it below)
- A Variety of Procreate Brushes. I created this Drop Cap and artwork using my Procreate Brush Kits brushes.
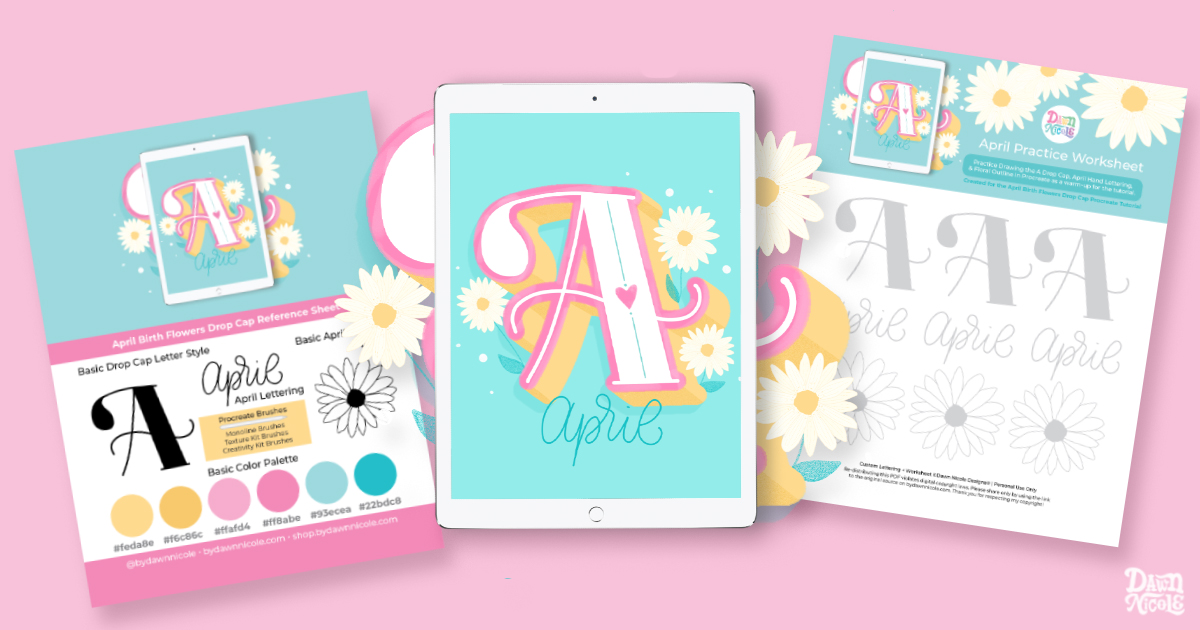
- Drop Cap Reference Sheet. I created a worksheet you can print and reference as we work through the step together.
- Practice Worksheet. Use this as a warm-up exercise or to trace for the tutorial itself. It includes the M dropcap, March hand lettering, and Daffodil outline.
- BONUS! Free Daisy Procreate Stamp Brush
Click the buttons below to download the freebies!
Practice Worksheet (Printable)
the CHERRY DAISIES Color Palette
- Right-click or screenshot the photo below to save the color palette.
- Import the photo into Procreate and use the Color Selection tool to save the colors to a new palette. (Google how to do this, if needed).
- Use the color palette in design programs such as Photoshop and Illustrator.
- Match your physical art supplies (markers, color pencils, watercolors, etc.) to the palette and work the old-school way!

The BASIC STEPS
Here are the super basic steps for this artwork. I’ll walk you through them in more detail in the video below.
- Change your background color.
- On a new layer, draw your letter “A.” I used the Chloe Style Lettering taught in this workbook.
- Create an outline on the A using Gaussian Blur and use a clipping mask to add details.
- Add the extrusion using Motion Blur and use a clipping mask to add shading.
- Add the shadow using motion blur. Decrease opacity as necessary.
- Add the florals, dots, and April Monoline Script Lettering.
Using many layers makes it easier to edit and adjust your artwork!
Watch the APRIL Birth Flowers Drop Cap Tutorial Video Lesson
You can watch the roughly 16-minute video lesson below.
VIDEO OUTLINE
If you want to skip or re-watch any tutorial portions, here are the timestamps for each section.
- 00:00 Intro
- 00:13 Welcome + Overview
- 00;56 Background + Letter A Drop Cap
- 01:16 Adding the Outline
- 03:38 3D Extrusion + Shading
- 07:13 Shadow
- 08:40 Inline Drop Cap Details (Heart and Lines)
- 09:40 Florals, Leaves, and Dots
- 14:51 Monoline Script April Lettering
- 16:02 Outro

 April Birth Flowers Drop Cap Tutorial
 April Birth Flowers Drop Cap Tutorial
I hope you enjoyed this month’s video lesson.
Stay tuned for next month’s Floral Drop Cap Tutorial!
LET’S CONNECT
Facebook // Pinterest // Instagram // Shop


Hey Dawn how are you? I just finally sat to finish this awesome tutorial but when doing the grey Color shadow the colors didn’t change to the pretty blue or turquoise options. I changed the grey a few times but it either went completely white or invisible or stayed a shade of grey. So what did I do wrong? Lol I’m going to redo it all but hoping maybe for tip on case it ever happens again.
Thank you so much for another amazing tutorial!
Love learning lettering from you❤️❤️Happy soon to be Easter!!!
Hi Nicole!
I’d be happy to help! It’s always hard to do these things over the internet and I often wish I could sit down in person and show people.
For the outline, all you need to do is one of two things:
1) Tap the outline layer, tap “select,” tap “fill”. Keep doing that until it’s more opaque and less fuzzy. I often do this step 3-5 times but sometimes more as needed, especially if it’s a thicker outline. That should also reduce those little lines.
2) The other way to do this is to swipe left on the layer and click “duplicate”. Keep doing that until you have several outline layers. When it gets darker, you can merge those layers down into one.
The Gaussian Blur method of creating an outline will always be a wee bit fuzzy on the edges. If you zoom into mine, it is as well. Part of that is the nature of the blur and part is because Procreate is a Raster-based program (vs. vector which doesn’t get blurry…but Procreate can’t do vector images).
Another thing you can do is try doing a smaller amount of Gaussian Blur when you create the outline. The thicker your outline the more you’ll need to do one of the two options above.
I don’t know why your shadow layer isn’t changing for you as mine did without being able to see what your settings are in person, but some of the options in that same menu panel where “color burn” and “linear burn” are will make it disappear. That’s normal and I just don’t use those options.
The easiest way to fix that is to just make your shadow a shade of teal dark than the background instead of grey and then just tap the “N” on that layer and reduce the opacity to make it lighter.
Hope this helps! 🙂
Dawn
Hey Sorry didn’t even see your reply here. I replied to your email! Thank you f0r helping me and I can’t wait for next tutorial! Your always coming up with the best stuff!! ❤️❤️❤️❤️