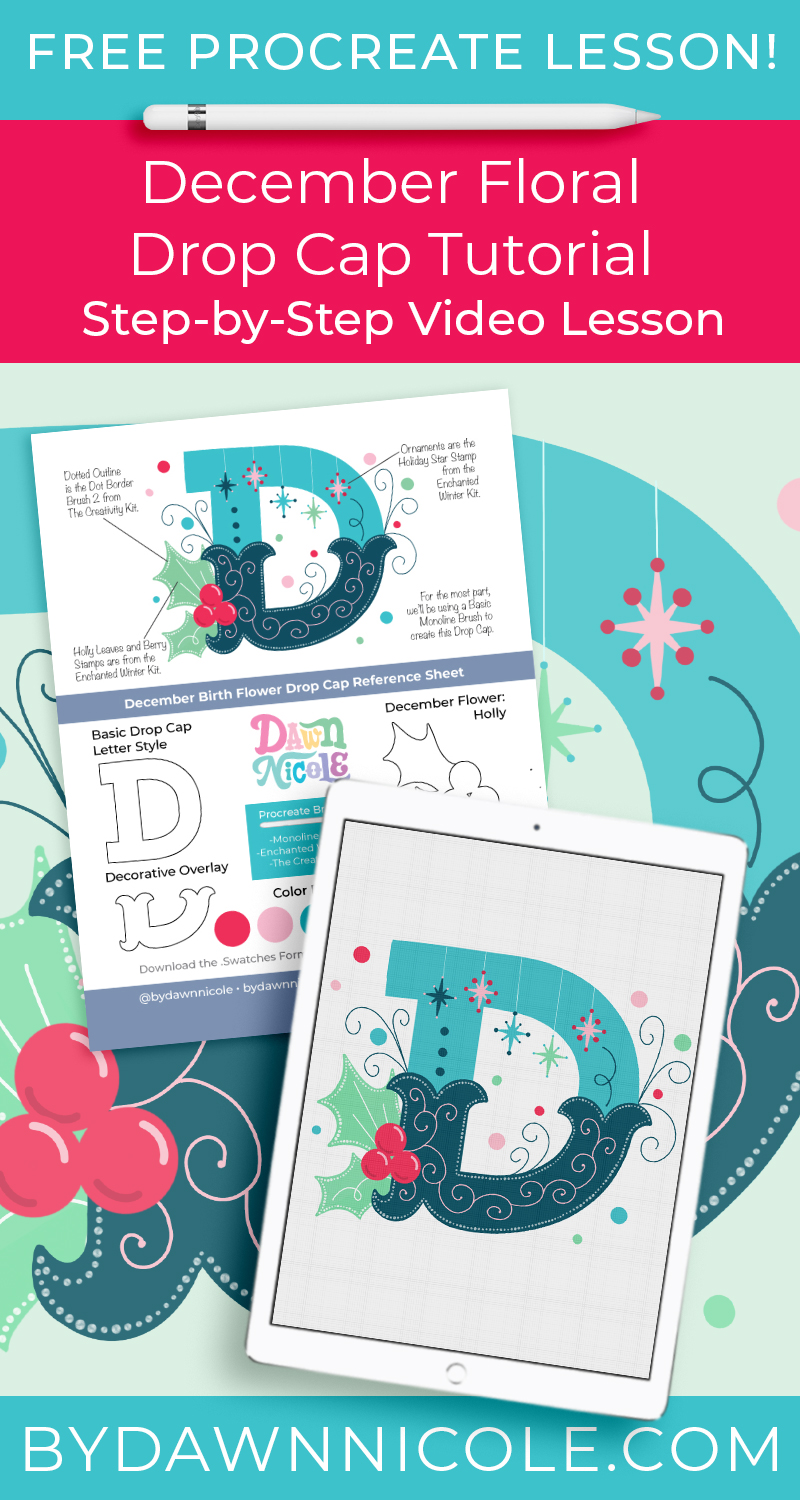
December Birth Flowers Drop Cap Tutorial. Follow along with my step-by-step video for creating this whimsical letter in Procreate.
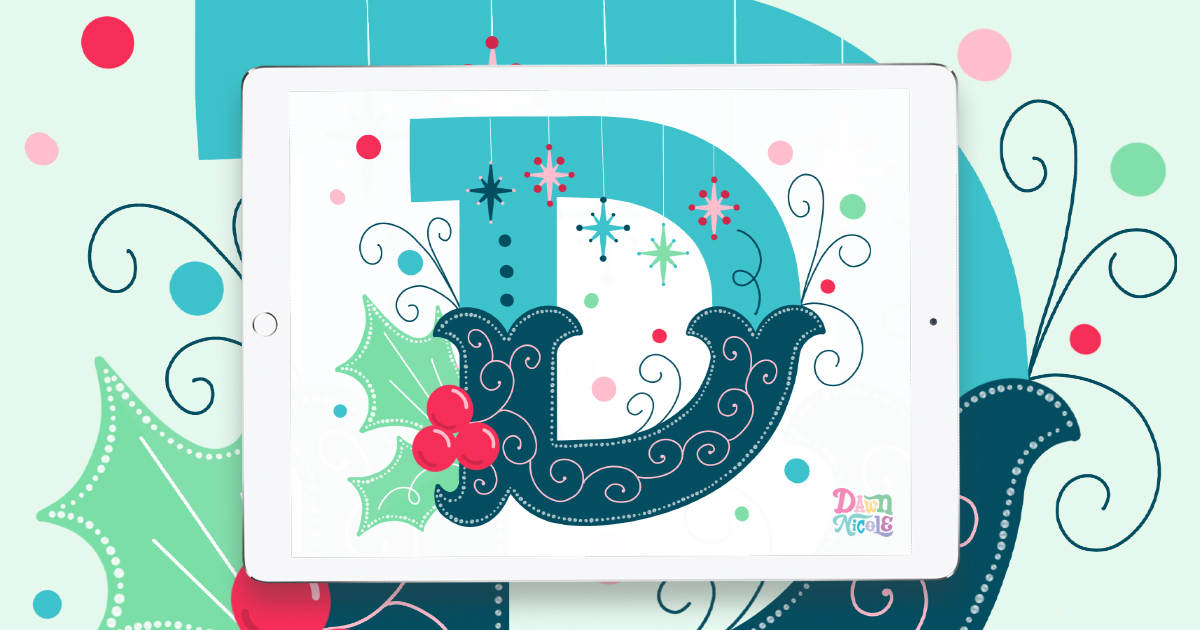
December Birth Flowers Drop Cap Tutorial
We made it to the end of the year!
Twelve months of Birth Flower Drop Cap tutorials end with this whimsical and festive letter D illustration tutorial. Thank you so much for joining me on this year-long creative journey!
The video tutorial is shy of 30 minutes long, and you may likely need to press pause along the way. You can expect this project to take you about 45 minutes to complete.
New to this series?
I recommend completing the previous lessons first and then coming back to this one, as some lessons build on things taught in previous tutorials.
- January Drop Cap Tutorial
- February Drop Cap Tutorial
- March Drop Cap Tutorial
- April Drop Cap Tutorial
- May Drop Cap Tutorial
- June Drop Cap Tutorial
- July Drop Cap Tutorial
- August Drop Cap Tutorial
- September Drop Cap Tutorial
- October Drop Cap Tutorial
- November Drop Cap Tutorial
What You’ll Need to Follow Along
- iPad and Apple Pencil
- Procreate App
- December Color Palette (Download it free below. It’s in a Procreate-specific format)
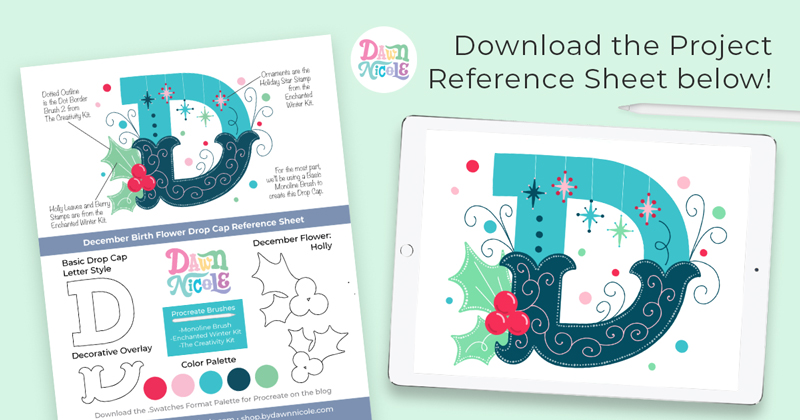
- A Variety of Procreate Brushes. Mainly a basic monoline brush, a texture brush, and a few stamp brushes from The Creativity Kit and The Enchanted Winter Kit.
- Drop Cap Reference Sheet. I created a worksheet you can print and reference as we work through the step together.
Click the buttons below to download the freebies!
December Drop Cap Reference Sheet
Procreate Color Palette for December
Watch the DECEMBER Birth Flowers Drop Cap Tutorial Video Lesson
Follow along with the video below to create this whimsical letter D.
This month’s video lesson is just under 30 minutes long.
VIDEO OUTLINE
If you want to skip or re-watch any tutorial portions, here are the timestamps for each section.
- 00:00 Intro
- 00:15 Project Overview
- 00:45 Drawing the D Drop Cap
- 03:49 Decorative Drop Cap Layer
- 08:22 Holly and Berries
- 10:01 Hanging Ornaments
- 16:21 Holly Details
- 19:06 Letter D Details
- 23:44 Background Details
- 28:39 Closing Comments
- 29:38 Outro

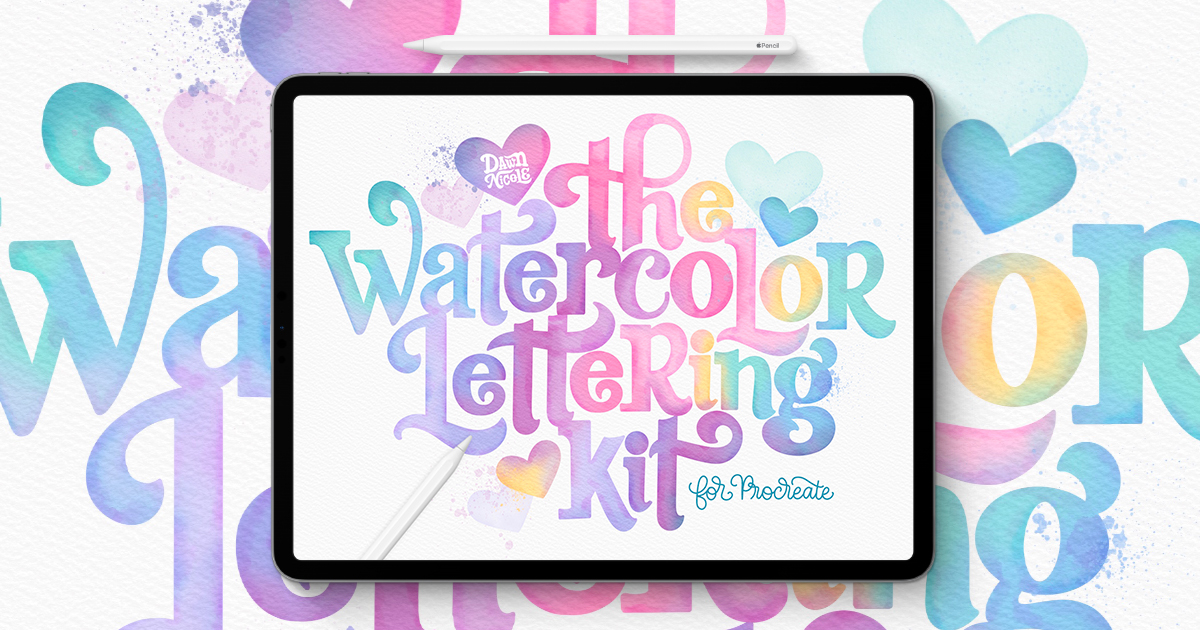
NEW IN THE SHOP!
 Happy creating!
 Happy creating!
I hope you enjoyed the final video lesson in this year-long series.
LET’S CONNECT
Facebook // Pinterest // Instagram // Shop


So amazing for Christmas 🎅! Your nails are lovely also!!
Sad we are done but super duper excited to complete your newest class and obviously do this one too! I don’t want to go too fast. This needs to last till your next release and since it’s holiday season you definitely earned a good break!!
Happy Holidays!
Thank you for all the xtra tutorials you’ve shared with us this year!!
Nicole
Thanks again, Nicole! 🙂 My nails are Color Street french tips. I love their nail stickers. So easy to use and they last longer than anything else. A close second is the Olive & June polishes. If I have time to paint and let dry, those are my go-to for nails. Happy Holidays to you as well!
I haven’t tried the Olive and June polishes yet. I have seen the beautiful sets I hope to buy in future. I haven’t heard if they watermarble well yet so I’m still investigating that aspect. Since I learned how to create watermarble nails I have been buying polishes that watermarble well. Some polishes just don’t work well at all. Since I have about + 550 polishes (been about 8 years since I started that addiction) I buy for stamping nail art or watermarble nails. It helps keep my polish total from going way too high.
Happy Holidays again! Much closer now!
Can’t wait for what comes next for lettering! I’ve been holding off completing the G from the course because I’m so sad it’s come to end. I may have to redo all your tutorials. ❤️❤️❤️❤️❤️❤️