⭐️⭐️⭐️⭐️⭐️ Five-star Rated Procreate Brushes, Classes, and Lettering Workbooks
Shop Now! →
Home
Procreate Brushes
iPad Lettering Classes
Log in to Class
Dawn Nicole
About the Artist
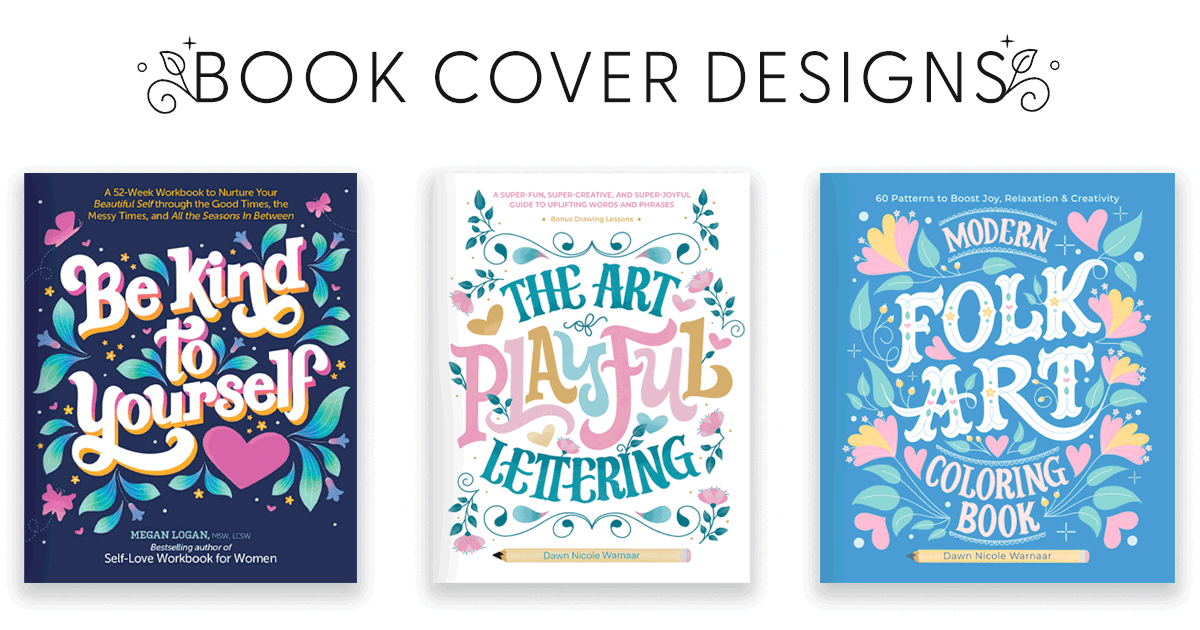
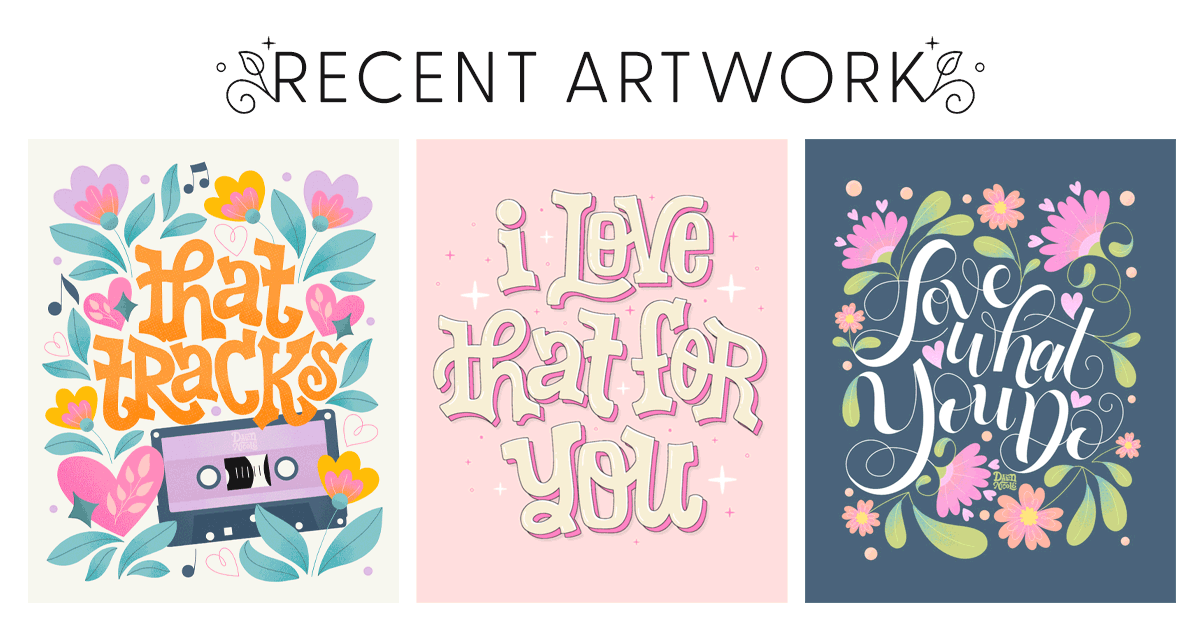
Portfolio
Shop
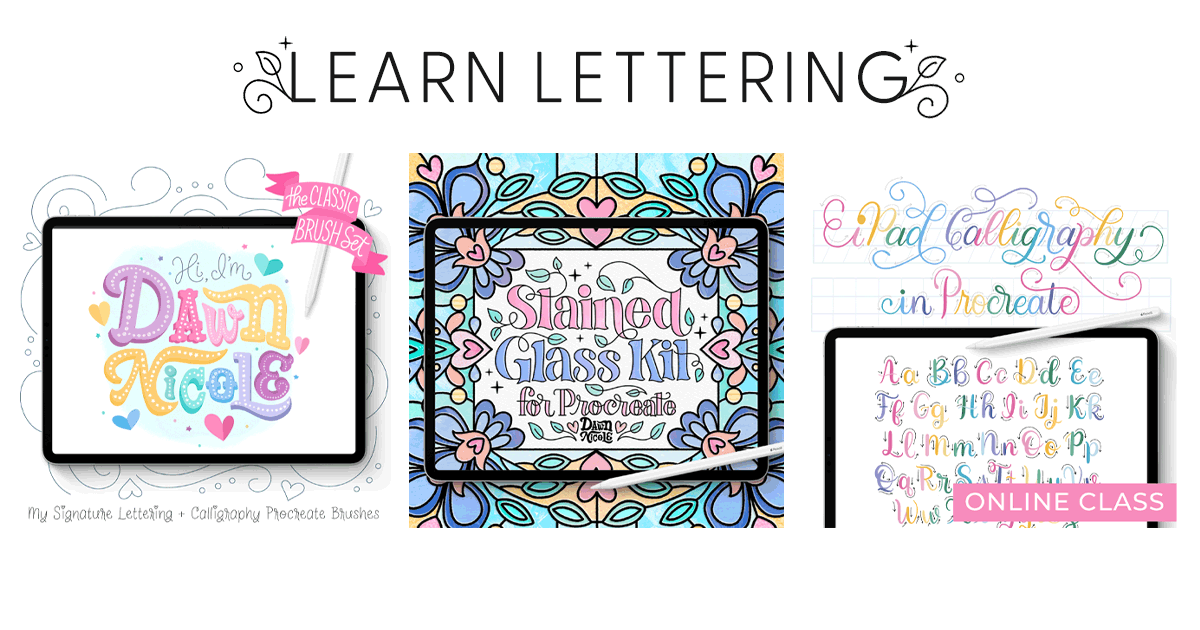
Procreate Brushes
Procreate Online Classes
Blog
Get my Book
FREE Procreate Class
Email Me
Portfolio
About the Artist
Shop
Blog
Email Me
