The Art of Flourishing & Embellishments. Easy Tips for Creating Eye-Catching Lettering & Art by adding Playful Flourishing and Embellishments.
The Art of Flourishing & Embellishments
Flourishes and embellishments can instantly elevate your lettering, calligraphy, and artwork, adding movement, elegance, and personality to any piece. Whether you’re brand new to flourishing or looking to refine your skills, learning the basics can make a huge difference.
In this post, you’ll find easy, approachable tips to help you draw confident, balanced flourishes that enhance your designs without overwhelming them.
Grab your Apple pencil and let’s dive into the art of swirls, swashes, and curliques!
Tip No. 1: Sketching is Essential
Sketching is incredibly important! I can’t emphasize this enough.
It’s easy to look at a finished piece and overlook all the effort that went into it. When you’re struggling to create in this style, know that we all do! Sketching gives you the freedom to create and revise as many times as needed. Making “mistakes” is part of the process.
A lot of my flourishing style involves playing with the design until I’m happy with it. When I’m sketching, I’m always thinking about how to add balance to a piece and how to fill white space in an aesthetically appealing way. A.K.A. the fine art of “eyeballing it.”
I usually start with the illustration or lettering in the center and then build the flourishing and additional illustrative elements around it. I tend to prefer drawing the flourishes and vines first, and then adding leaves and flowers to fill in the extra white space.
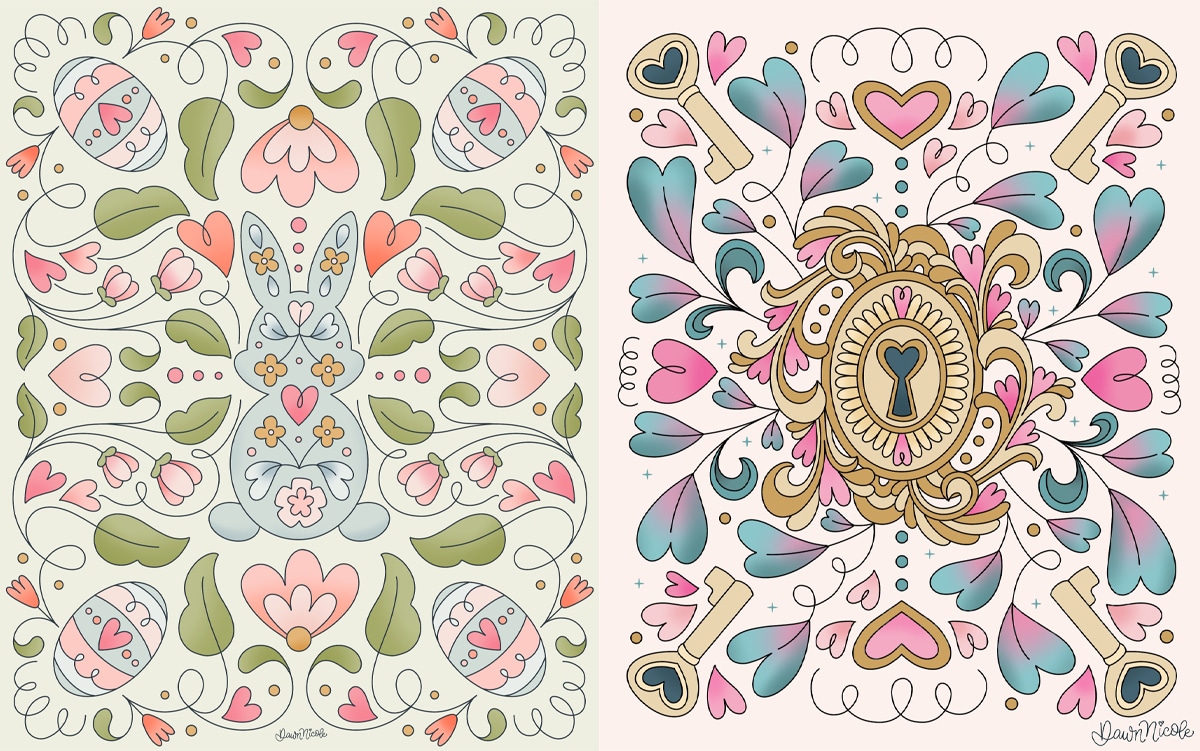
Tip No. 2: START WITH Symmetry
A straightforward approach is to utilize symmetry to your advantage. In the examples below, I sketched the flourishes in either one-quarter or one-half of my canvas. Then, I use the same design in all four quadrants (or the other half), flipping it as needed.
Once you have the main flourish work laid out, you can fill in the white space with simple flourishes, lines, and ornaments.
See this step in action!
You can see this in action in the latter half of this video tutorial. The tutorial on creating the symmetrical embellished frame begins at around 35:52 in the video.
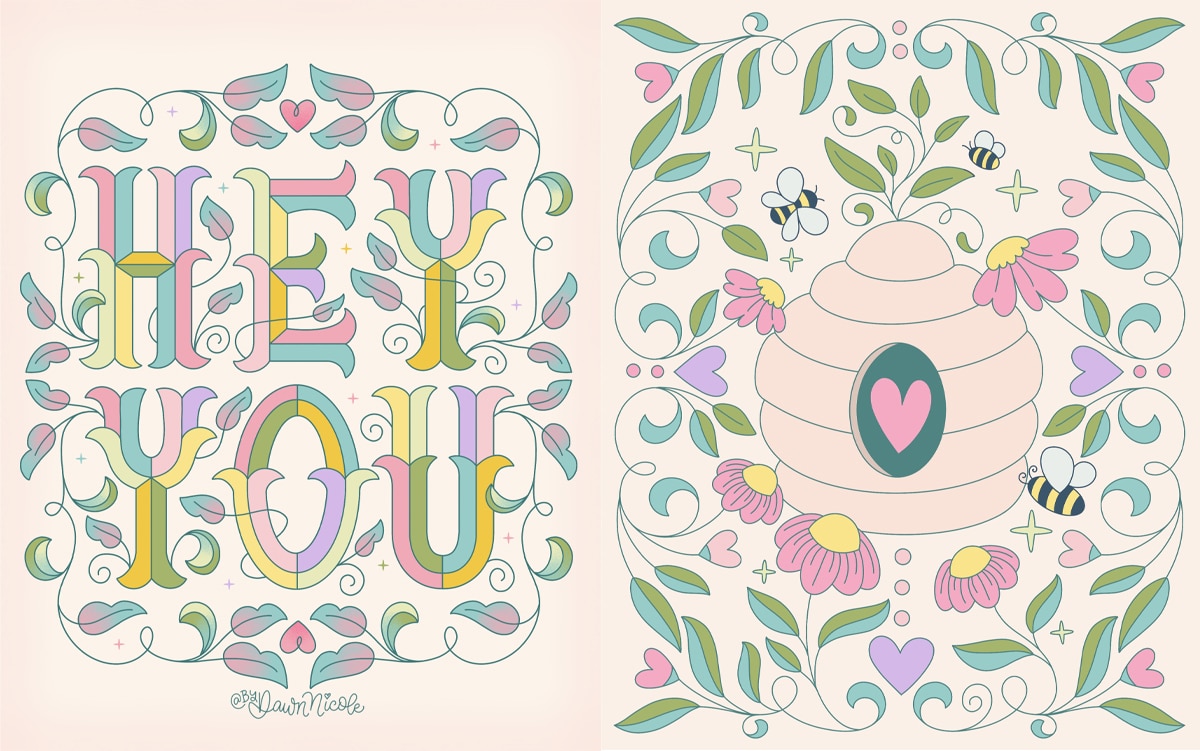
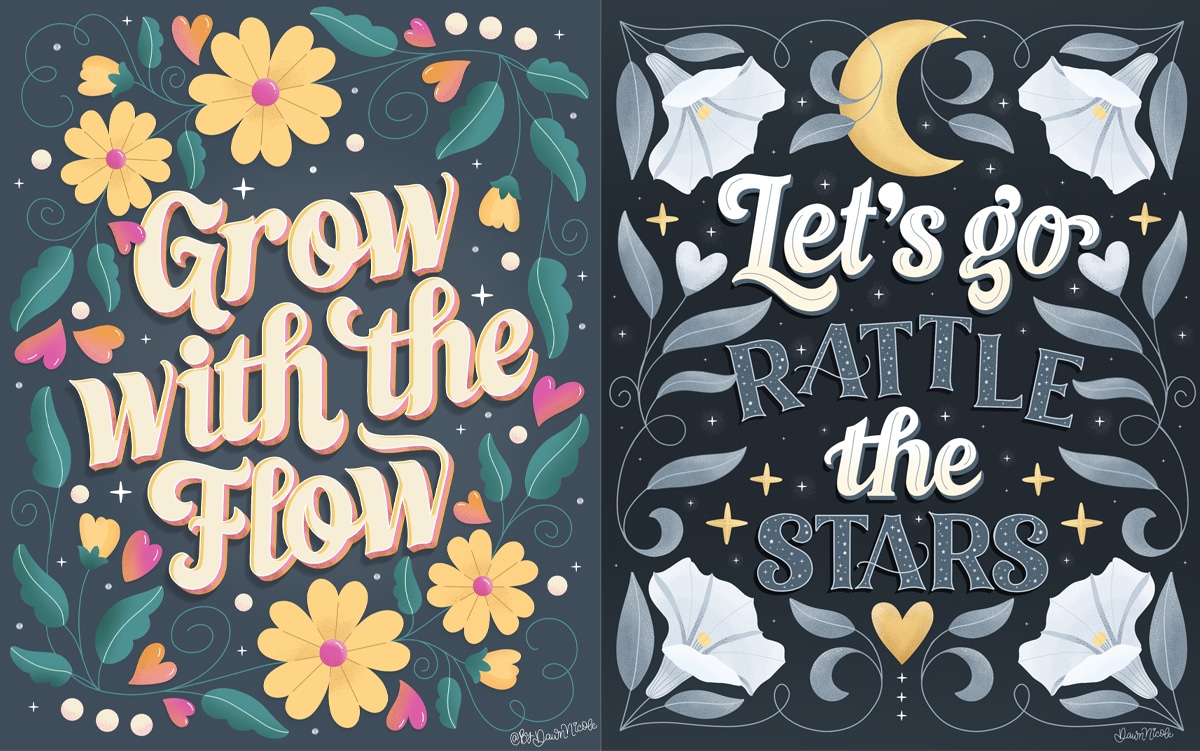
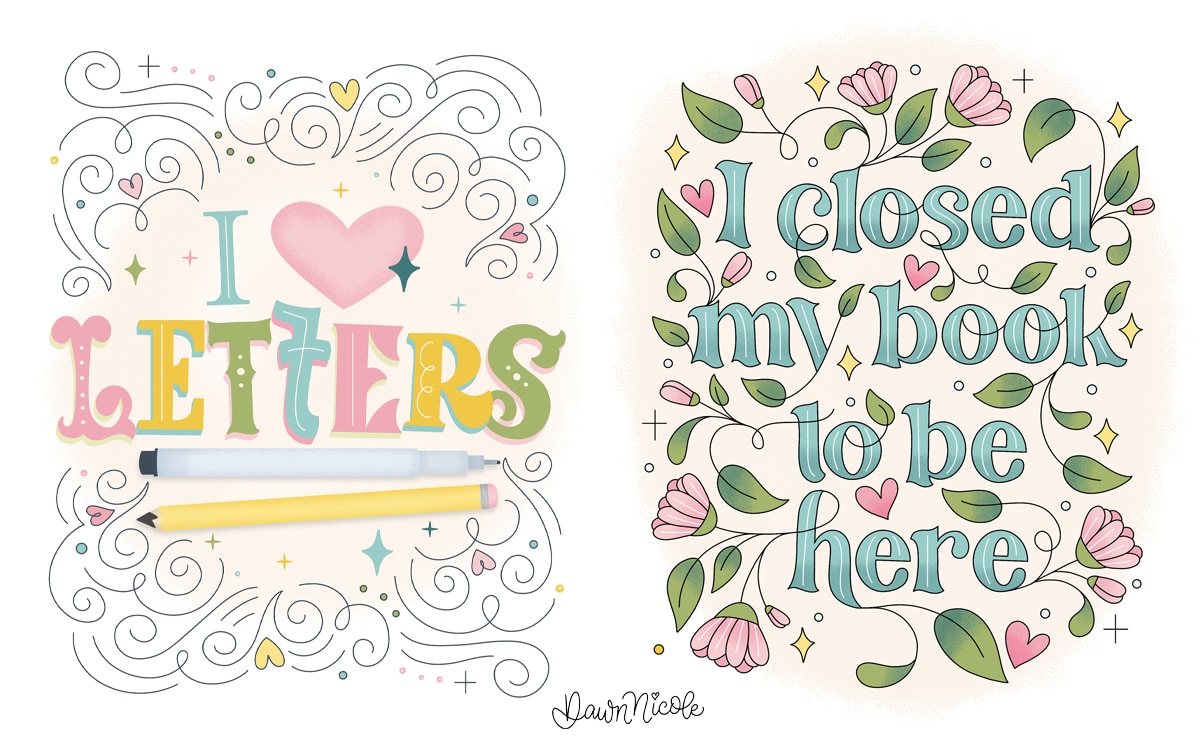
Tip No. 3: Fill NEGATIVE SPACE with flourishes (OR FLORALS)
Not every flourish needs to connect to a word or existing illustration.
Use them in your negative space to create balance and playfulness in your artwork.
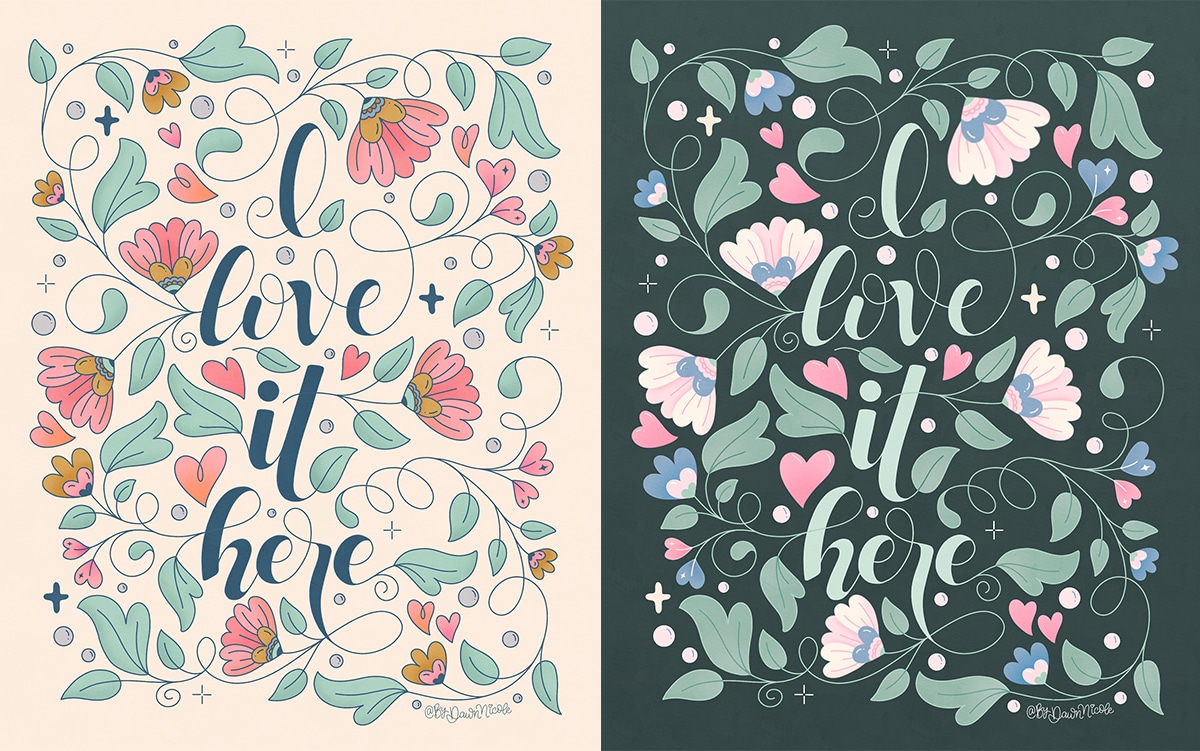
Tip No. 4: LEGIBILITY IS KEY
When adding flourishes to words and phrases, keep things simple. Less is usually more, especially if you’re a beginner.
Remember, legibility is of the utmost importance. If you can’t read the word or phrase, you’ve overdone it with the extras!
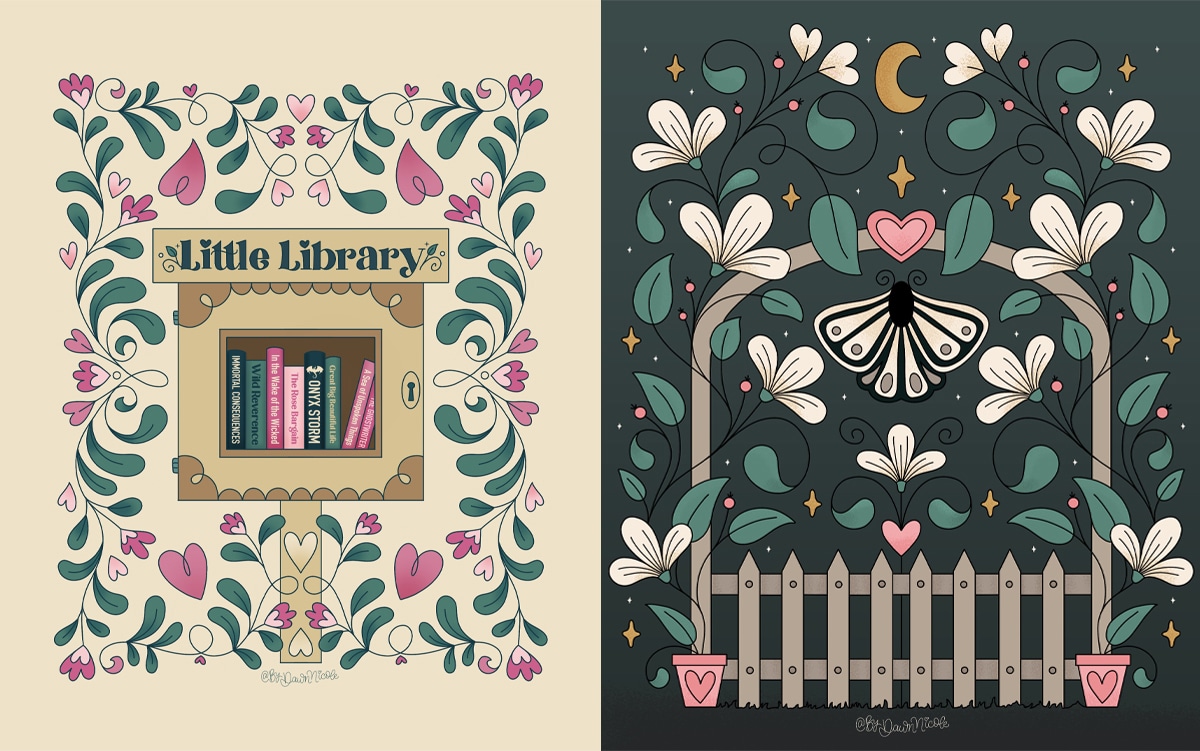
Sometimes, simply changing the colors can also help. Do you find the light or dark example below easier to read?
Tip No. 5: SLEEP ON IT
Self-critiquing your work is a great skill. For me, this usually means putting the piece away and re-evaluating it the next day. Looking at my work with fresh eyes helps me identify areas that need refinement, allowing me to rework them to make them more balanced, legible, and aesthetically appealing.
Tip No. 6: TRACE-To-LEARN
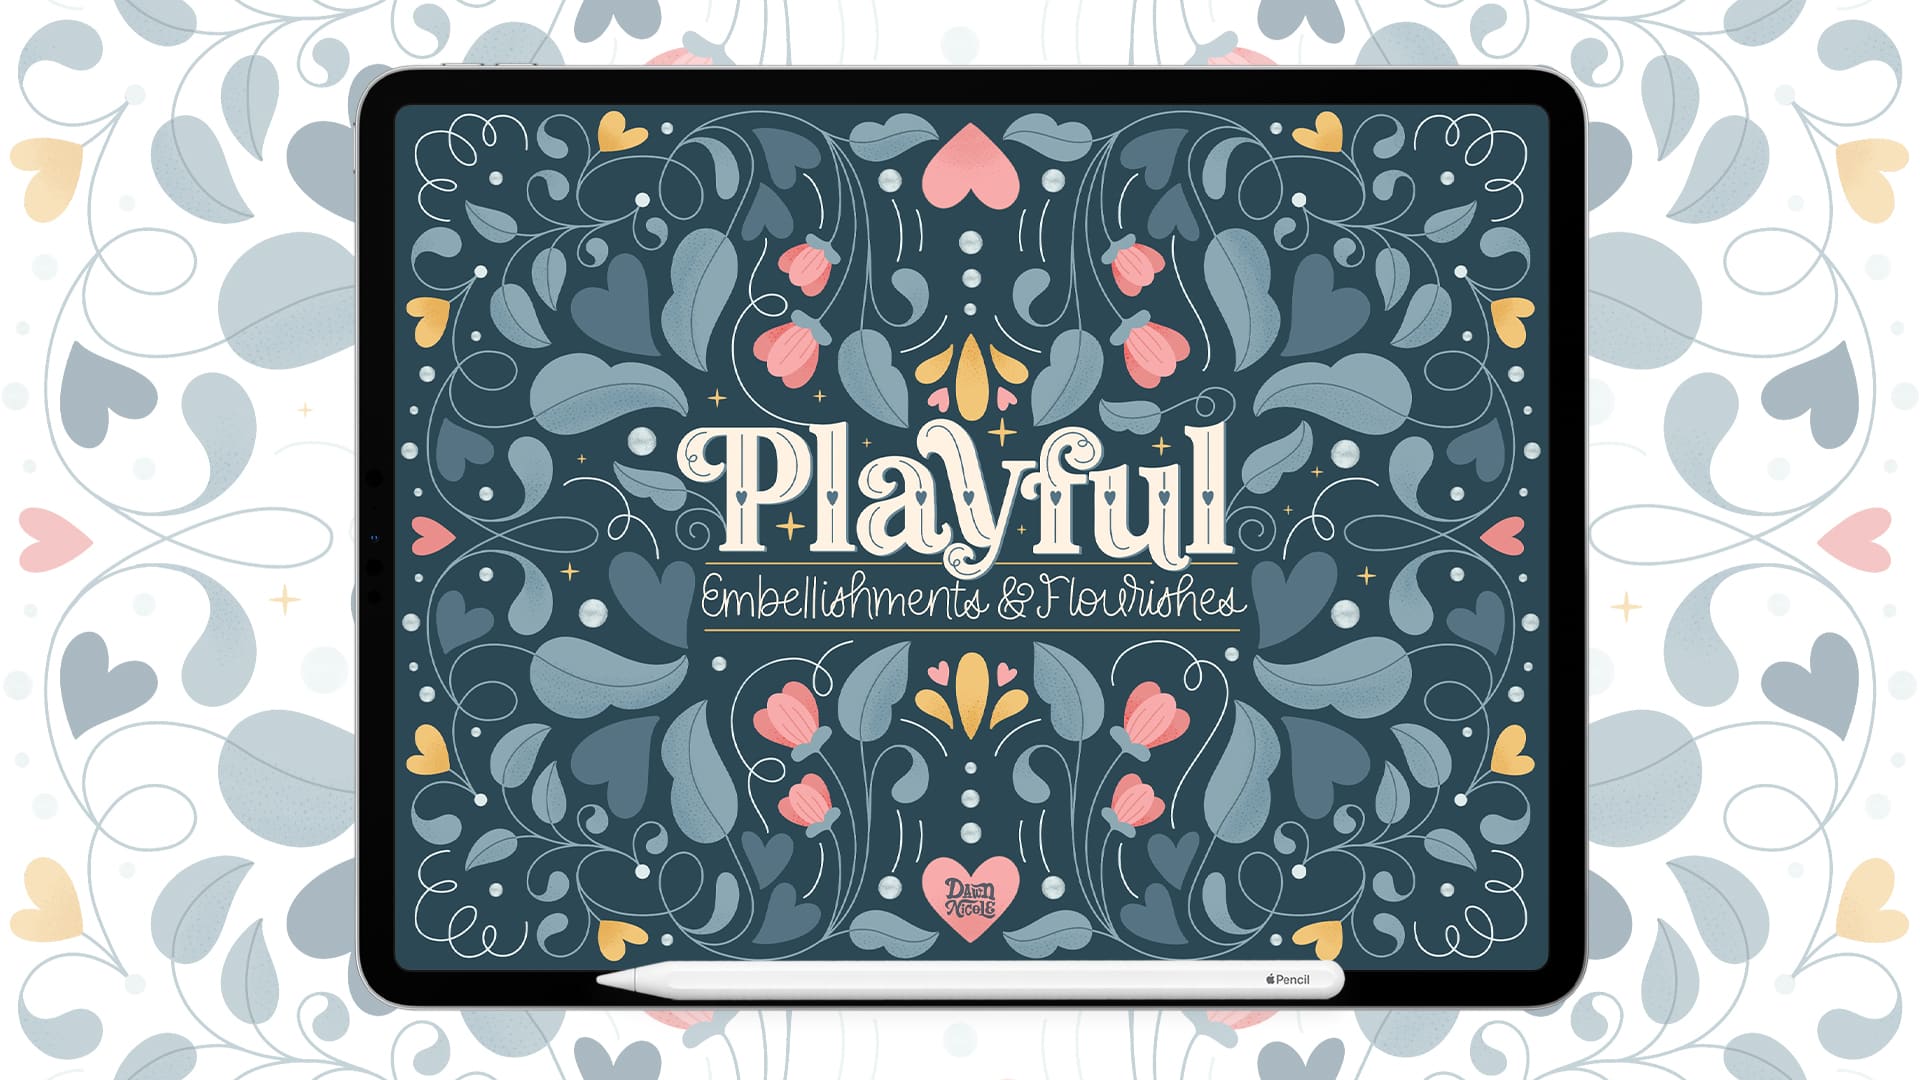
Tracing is one of the best ways to learn! You can use my Playful Embellishments for Procreate Stamp Set to do just that. It’s a charming collection of 80 hand-drawn stamps and stencil brushes designed to make your digital artwork shine.
This set includes three sets of brushes:
- Embellishments (40 brush stamps)
- Flourishes (20 Brush Stamps)
- Ornaments (20 Brush Stamps).
Playful Embellishments is perfect for adding whimsical accents, decorative details, and unique flair. This set is a must-have for anyone who loves creating beautifully detailed hand-lettering and illustrations. Whether you’re crafting eye-catching borders, intricate backgrounds, playful patterns, inline lettering details, or flourished calligraphy, these versatile brushes make it effortless to elevate your designs with a touch of personality and fun.
Playful Embellishments for Procreate →

Tip No. 7: Practice Makes Progress
The more you practice, the easier it becomes to “eyeball” the art of flourishing, so keep at it!
Your muscle memory will also develop, and you’ll find it easier to create the loops and curves more easily (with less shaky lines!).
Learn the art of playful lettering with me
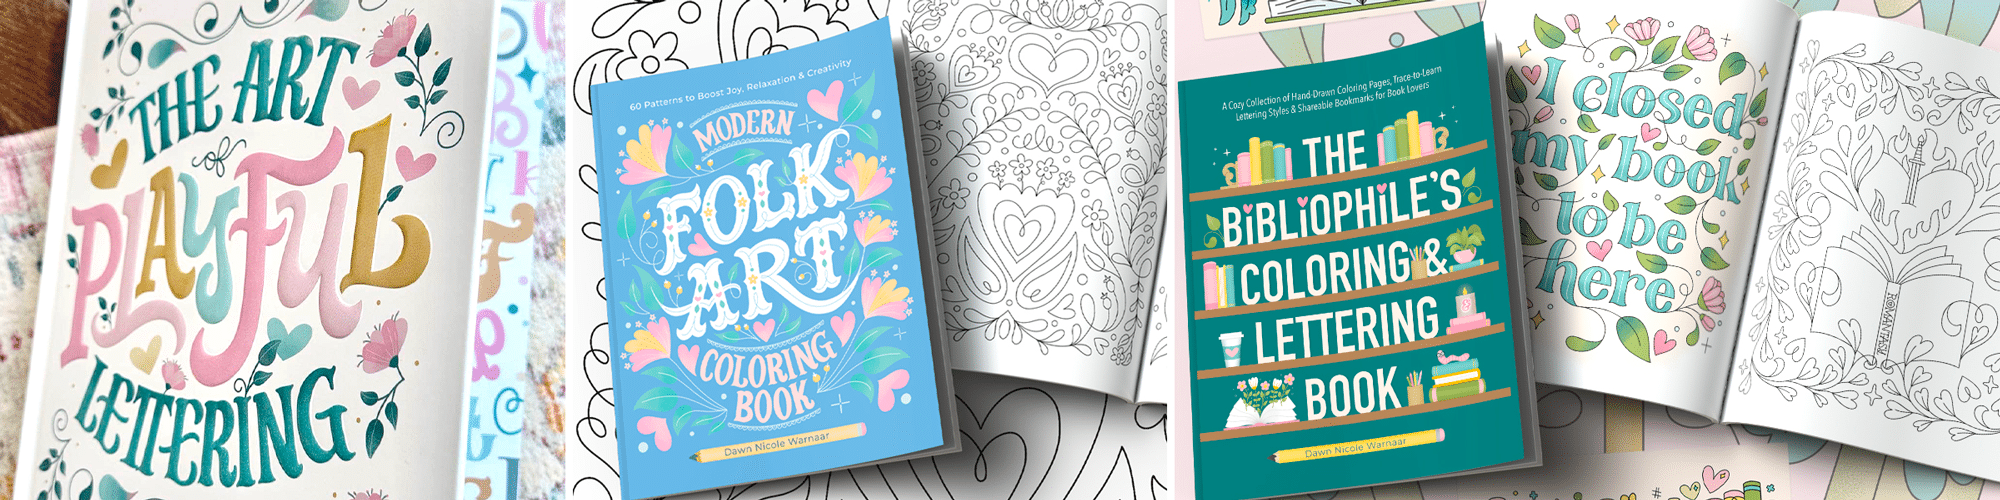
- Grab a copy of my book, The Art of Playful Lettering, on Amazon. Some of the info and artwork in this blog post were created for this book. That section of the book also contains color palettes to inspire your lettering creations!
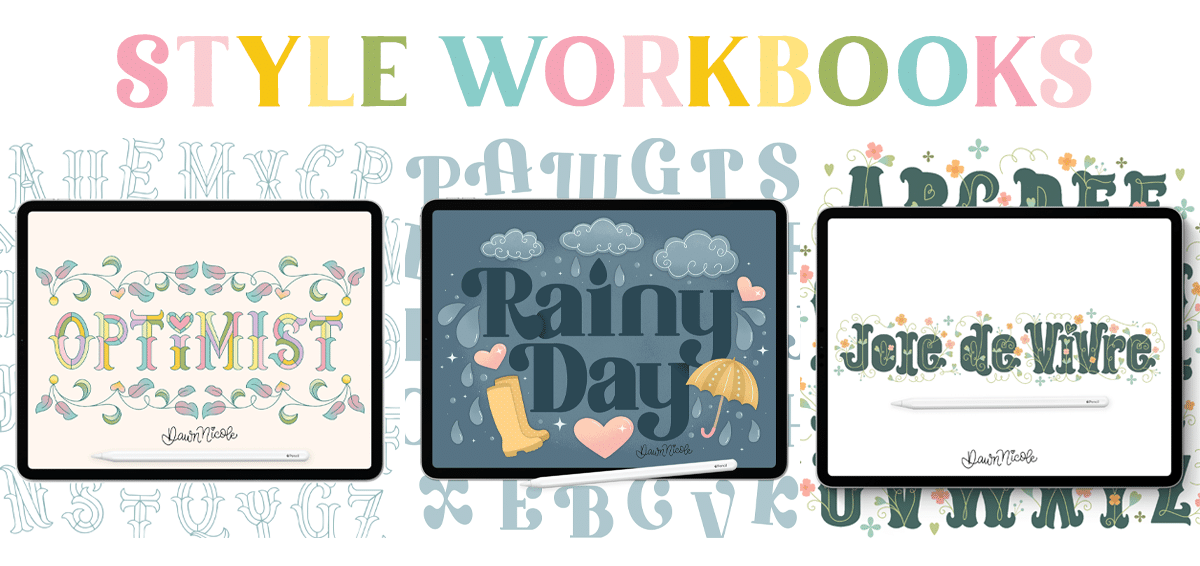
- Check out the Procreate Brush Sets and Online Classes in my lettering shop.
- Pre-order my Modern Folk Art Coloring Book to relax and color my hand-drawn designs.
- Check out my 2025 Playful Lettering Style Challenge.
From the lettering Shop
Check out my five-star rated Procreate Brush Sets, Classes, & Lettering Style Workbooks!
 I hope you enjoyed these flourishing & embellishment tips!
 I hope you enjoyed these flourishing & embellishment tips!
Happy creating!


