How to Add Textures in Procreate. Add depth and personality to your Procreate art with simple texture techniques using brushes, overlays, patterns, and shading.
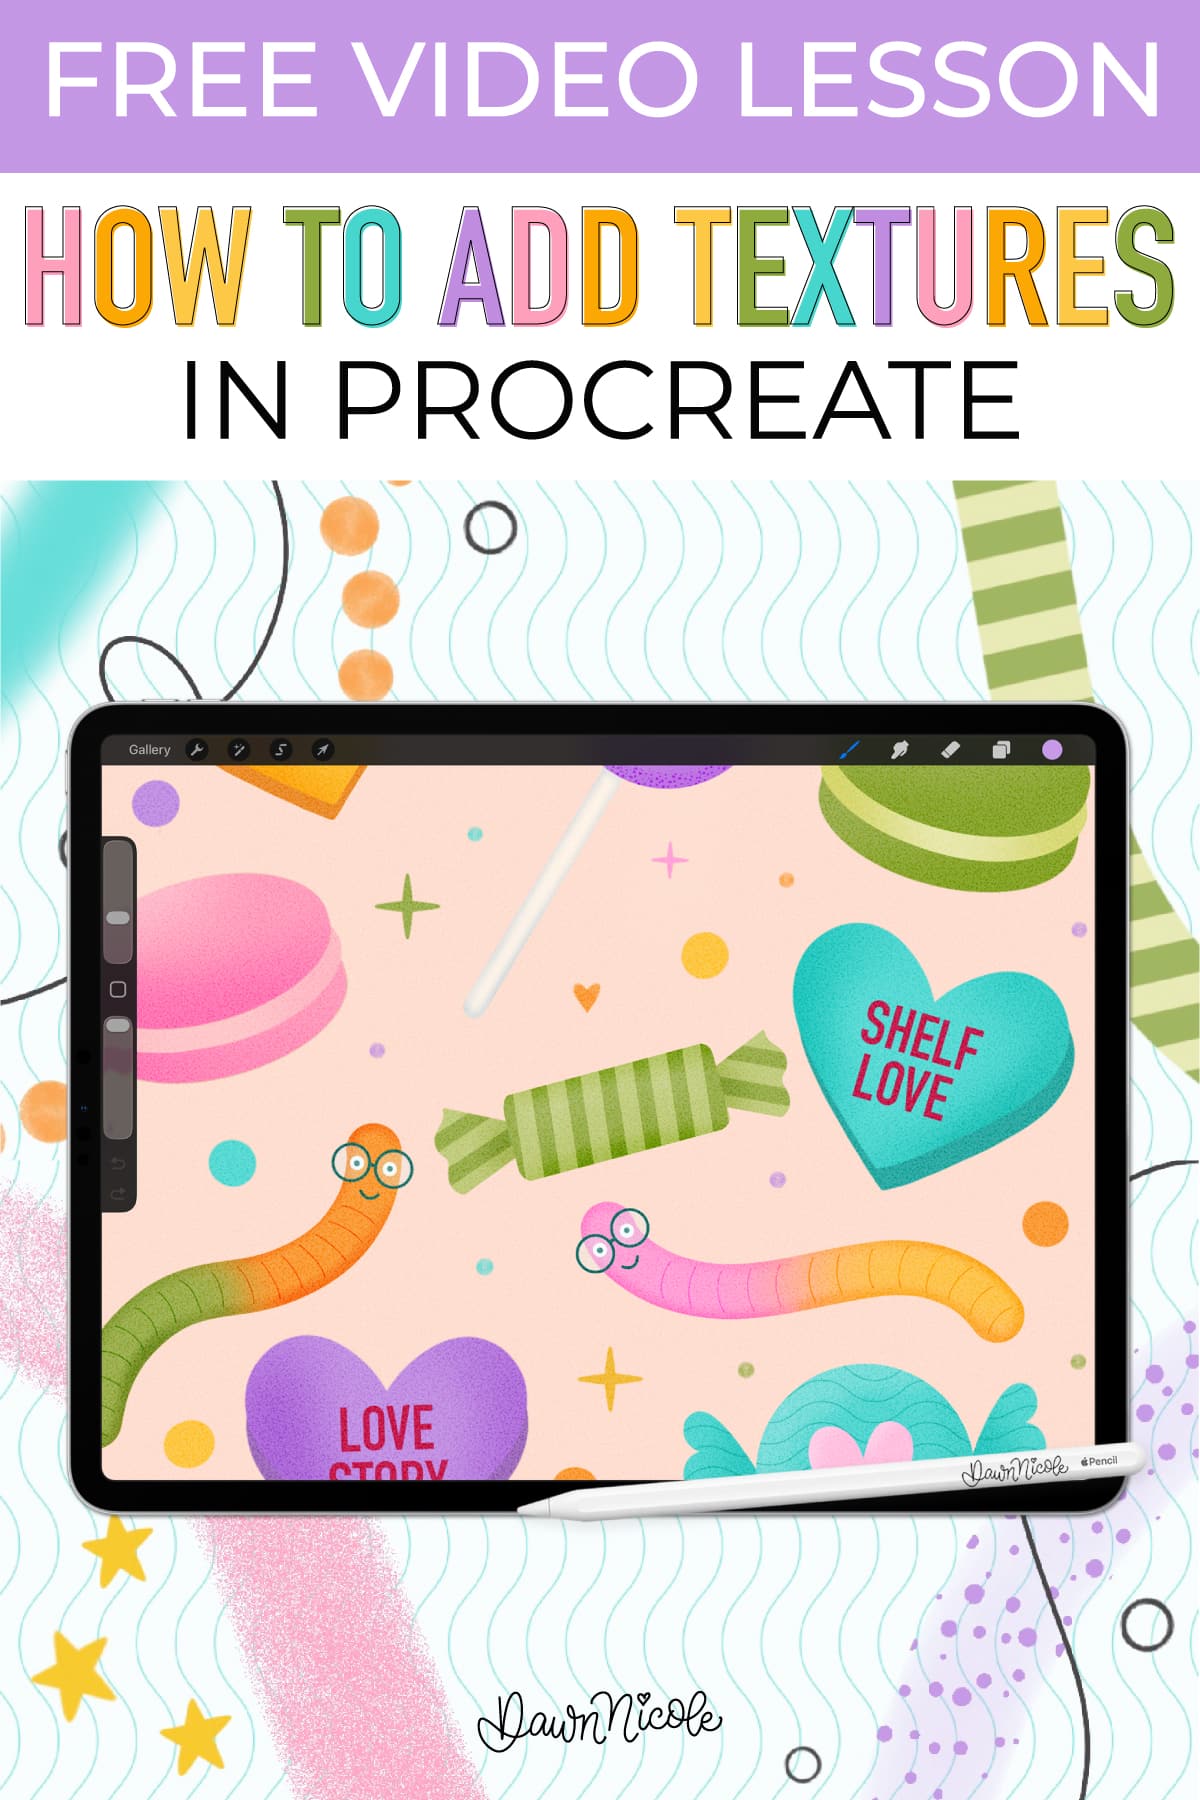
How to Add Textures in Procreate
If your Procreate artwork ever feels a little too clean or flat, texture is the secret ingredient you’re missing. Texture adds depth, personality, and visual interest—and the good news is, Procreate gives you tons of easy ways to build it into your work.
In this post, I’ll walk you through the basic ways to add texture in Procreate, plus practical examples you can start using right away. Whether you’re lettering, illustrating, or designing patterns, these techniques will help your art feel more dimensional and intentional.

Basic Ways to Add Texture in Procreate
I’ll walk you through all of these ways in the video tutorial near the end of this blog post.
1. Textured Brushes & Patterned Brushes
One of the easiest ways to add texture is to start with the right brush. Many Procreate brushes already include built-in grain, edge variation, or patterning.
Use textured brushes for:
Chalky or dry media looks
Watercolor and painterly effects
Rough, organic lettering
Subtle paper-like grain
Patterned brushes (such as dots, stripes, or repeating shapes) are especially helpful for quickly filling large areas while still adding visual interest.
Tip: Adjust the brush’s grain scale and depth in Brush Studio to customize the texture’s strength.
Shop my Procreate Brush Sets →
2. Overlays (Photos, Noise Layers & Full-Layer Textures)
Overlays are an easy yet powerful way to add texture to existing artwork.
Common overlay options include:
Scanned paper textures
Subtle noise layers
Vintage or distressed texture images
To use an overlay:
Place the texture image on a new layer above your artwork
Change the blend mode (Multiply, Overlay, Soft Light are great starting points)
Adjust opacity until it feels natural
Super Easy Option: Noise Layer
A simple noise layer adds instant grit and cohesion. Fill a layer with gray, apply Noise, set the blend mode, and lower the opacity. It’s quick, subtle, and works beautifully for digital pieces that need a tactile feel.
3. Clipping Masks & Alpha Lock
These tools let you add texture inside existing shapes without going outside the lines.
Clipping Masks
Great for layering textures non-destructively
Perfect for gradients, shading, and pattern fills
Easy to edit or remove later
Alpha Lock
Faster for simple texture additions
Best when you’re confident and don’t need flexibility
Both methods are excellent for adding dimension while keeping your artwork clean and controlled.
4. Hand-Drawn Texture
Sometimes the most charming textures are the ones you draw yourself.
Hand-drawn textures feel organic and intentional, especially for:
Lettering projects
Folk-inspired illustrations
Playful or imperfect styles
Use brushes like pencils, inkers, or textured monoline brushes to create custom details that feel uniquely yours.
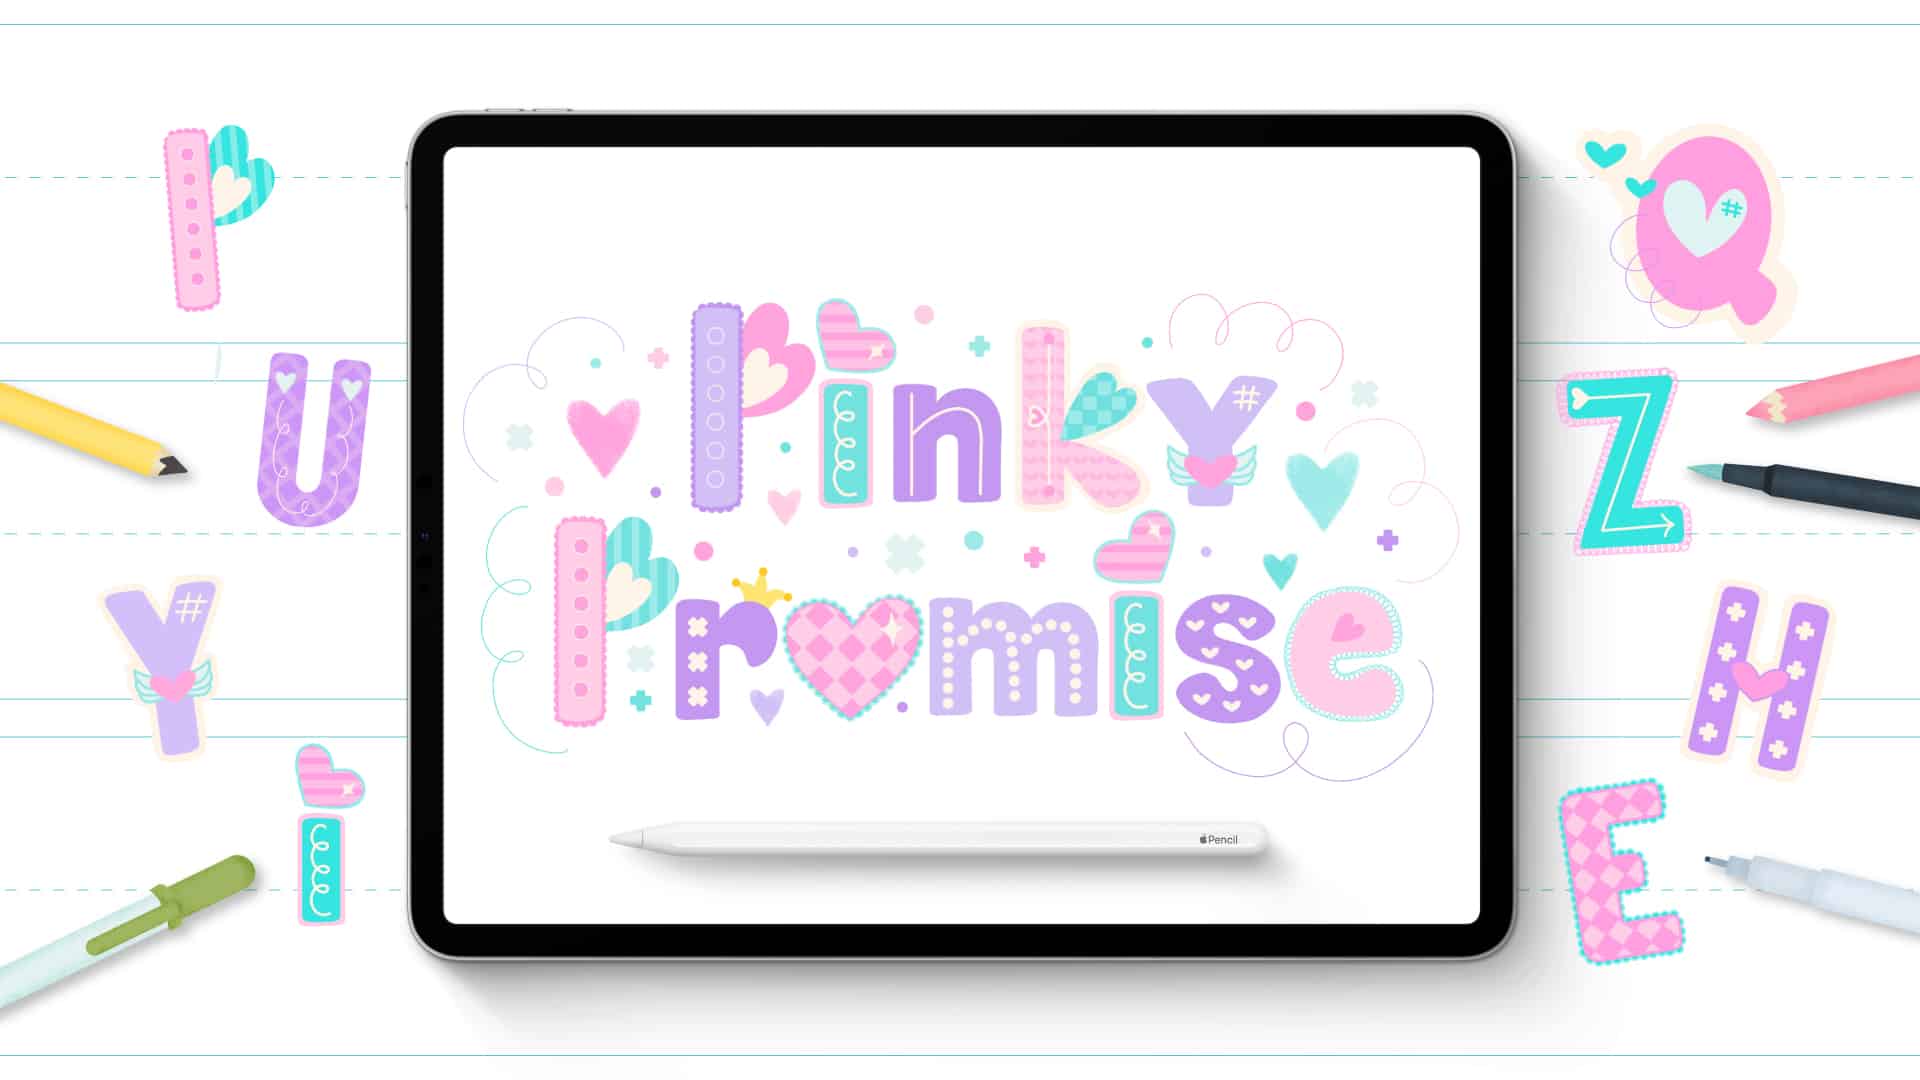
My Pinky Promise Lettering Style uses patterns, doodles, outlines, and textures to create a layered, playful vibe.
Texture Examples
Simple Patterns
Stripes, dots, checks, and other basic patterns are an easy entry point into texture. Use them subtly to break up flat color areas or boldly to create contrast and rhythm.
Gradients & Shading (Two Easy Ways)
Method 1: Solid Color + Gaussian Blur
Add a darker or lighter shape
Apply Gaussian Blur
Lower opacity for soft shading
Method 2: Soft Brush Shading
Use a soft airbrush or textured brush
Build color gradually for a hand-painted look
Both approaches add depth without overpowering your design.
Line Details
Line-based textures add structure and interest, especially in illustrations and lettering.
Try:
Cross-hatching
Stippling
Rough outlines or sketchy edges
These details can be subtle accents or bold stylistic choices, depending on your brush and pressure.
Overlay Textures
For a worn, nostalgic look, overlay textures are your best friend. Think:
Paper creases
Dust and grain
Slight distressing
Perfect for retro lettering, vintage posters, and cozy, handmade aesthetics.
Brush-Specific Textures
Some styles shine when you lean into the brush itself:
Chalky brushes for soft, dusty finishes
Watercolor brushes for organic blends
Textured calligraphy brushes for expressive lettering
Let the brush do some of the work for you!
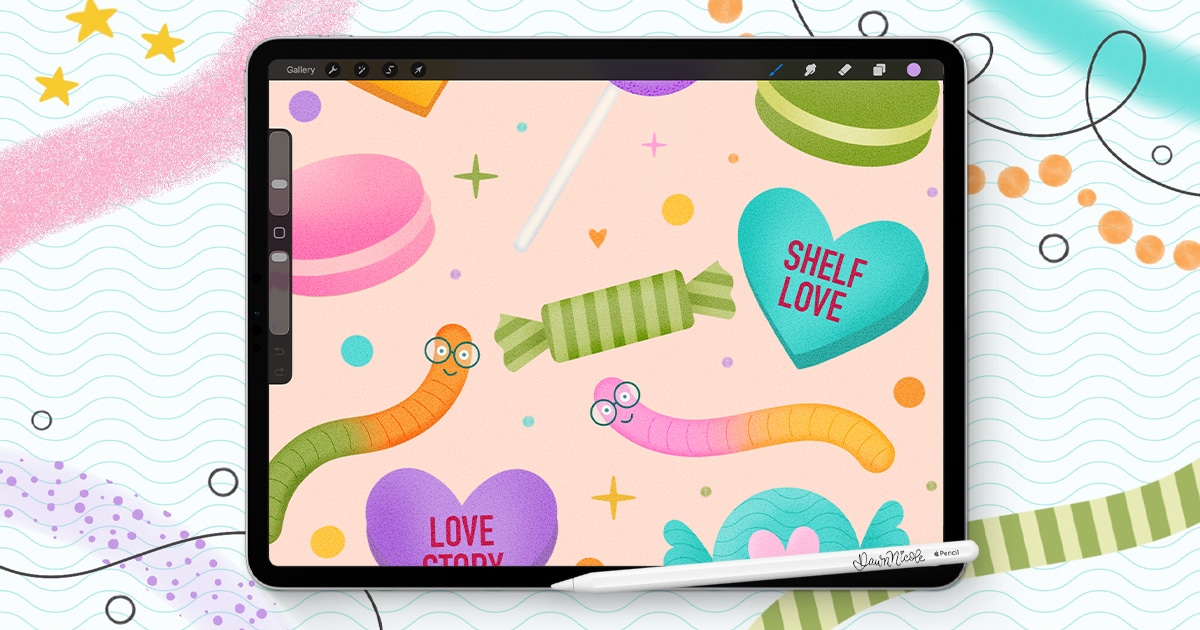
WATCH THE VIDEO TUTORIAL
In this Procreate video lesson, I’m sharing easy ways to add texture to your lettering and artwork—from patterned brushes and clipping masks to shading and noise layers. Simple techniques, big impact.
This year is all about sharing TONS of free Procreate video tutorials!
Subscribe to my YouTube Channel!
Shop my Procreate Brush Sets →
Final Tip: Mix and Match for Magic ✨
The real fun happens when you combine multiple texture techniques.
A patterned base, soft shading, hand-drawn details, and a subtle noise overlay can transform simple artwork into something playful and uniquely yours.
Experiment, layer things up, and don’t be afraid to try unexpected combinations. Texture is where digital art really comes alive.

 Happy creating!
 Happy creating!


