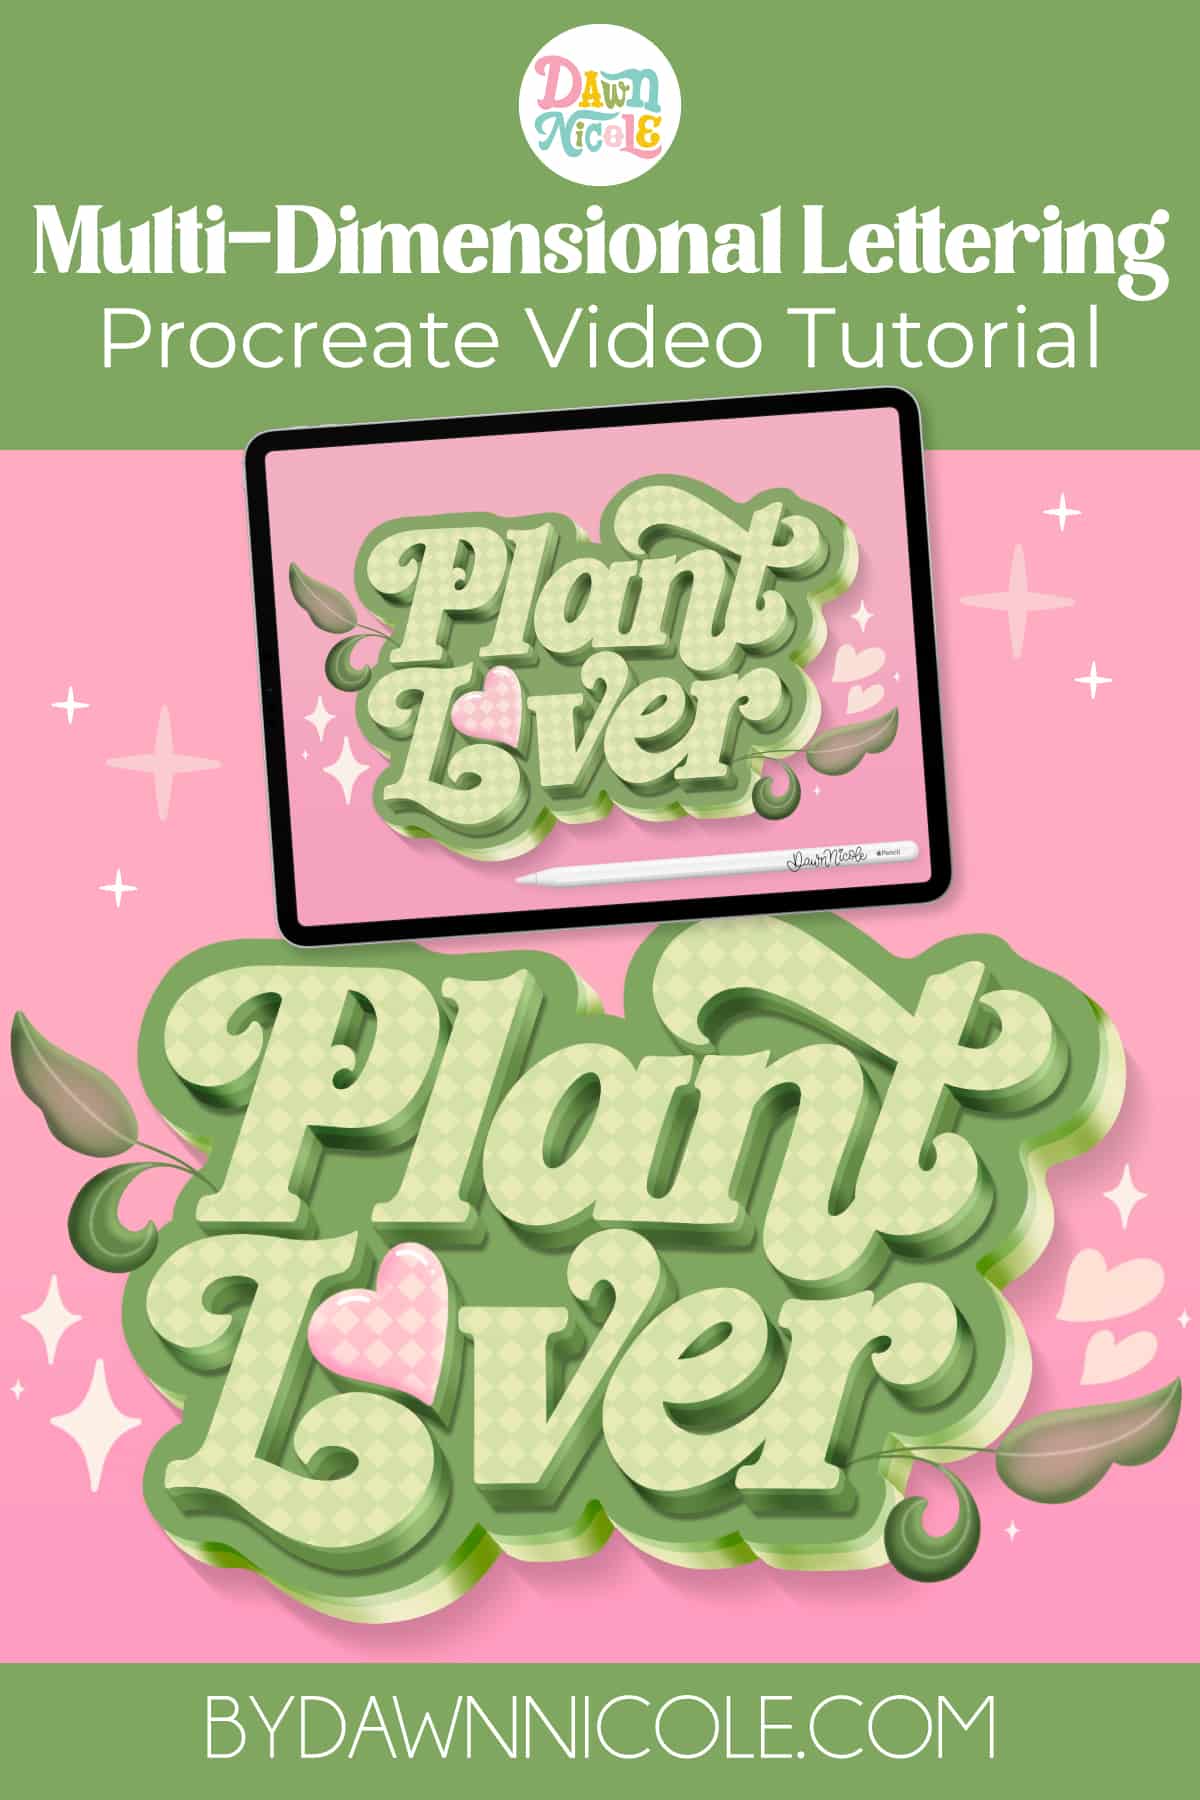
Multi-Dimensional Lettering Procreate Tutorial. Follow my video tutorial to learn how to create this stacked dimensional lettering style.
Multi-Dimensional Lettering Procreate Tutorial
Ready to take your lettering to the next level—literally? In this tutorial, I’ll show you how to create bold, eye-catching stacked dimensional letters in Procreate. This style is ideal for adding depth, drama, and an eye-catching twist to your hand-lettering projects. Follow my video tutorial to learn how to create this stacked dimensional lettering style step-by-step!
Project Supply List
- iPad, Apple Pencil, and the Procreate App. This is the magic trio for all iPad Lettering!
- Monoline, Gradient, and Texture Brushes. The exact ones I use in the video tutorial are listed below.
- Monoline. I used the DND Monoline from my Dawn Nicole Original Procreate Brush Set.
- Gradient. The soft blender from my Watercolor Lettering Kit is my go-to.
- Harlequin Fine Texture. This is from my Maximalist Brush Kit.
- Stardust Stamp No. 8. I used one of the 40 Star & Sparkle Stamps from my Stardust Stamp + Brush Kit.
- Pre-Drawn Letter/Short Word of your choice. I’ll explain this more in the video lesson. For the “Plant Lover” artwork and the “hi” version, I walk you through in the video, I’m using the Cover Girl Lettering Style.
- Plant Lover Color Palette. You can use any palette you like, of course, but if you want to use the same one I’m using, you can download it for free right here.

WATCH THE VIDEO TUTORIAL
This video tutorial is 42 minutes long, and we’ll use a shorter phrase in the lesson to keep it from being too overwhelming. It’s friendly for both newbies and intermediate Procreate users.
MULTI-DIMENSIONAL LETTERING: Basic Steps
Here are the basic steps in written format.
- Draw your lettering.
- Add a thin extrusion layer to the lettering.
- Then, add a thicker extrusion layer to the lettering.
- Add a shadow to your lettering.
- Optional: Use a clipping mask(s) to add texture to your lettering.
- Create an offset outline around your lettering.
- Add a thin extrusion layer to the offset outline.
- Next, add a thicker extrusion layer to the offset outline..
- Add a shadow to your offset outline layers.
- Duplicate your canvas.
- Merge both sets of extrusion layers. Use clipping masks and gradients to add shadows and highlights to the extrusion layers..
- Optionally, add details like leaves, hearts, and sparks. Use clipping masks and gradients to add shadows and highlights.
Learn the art of playful lettering with me
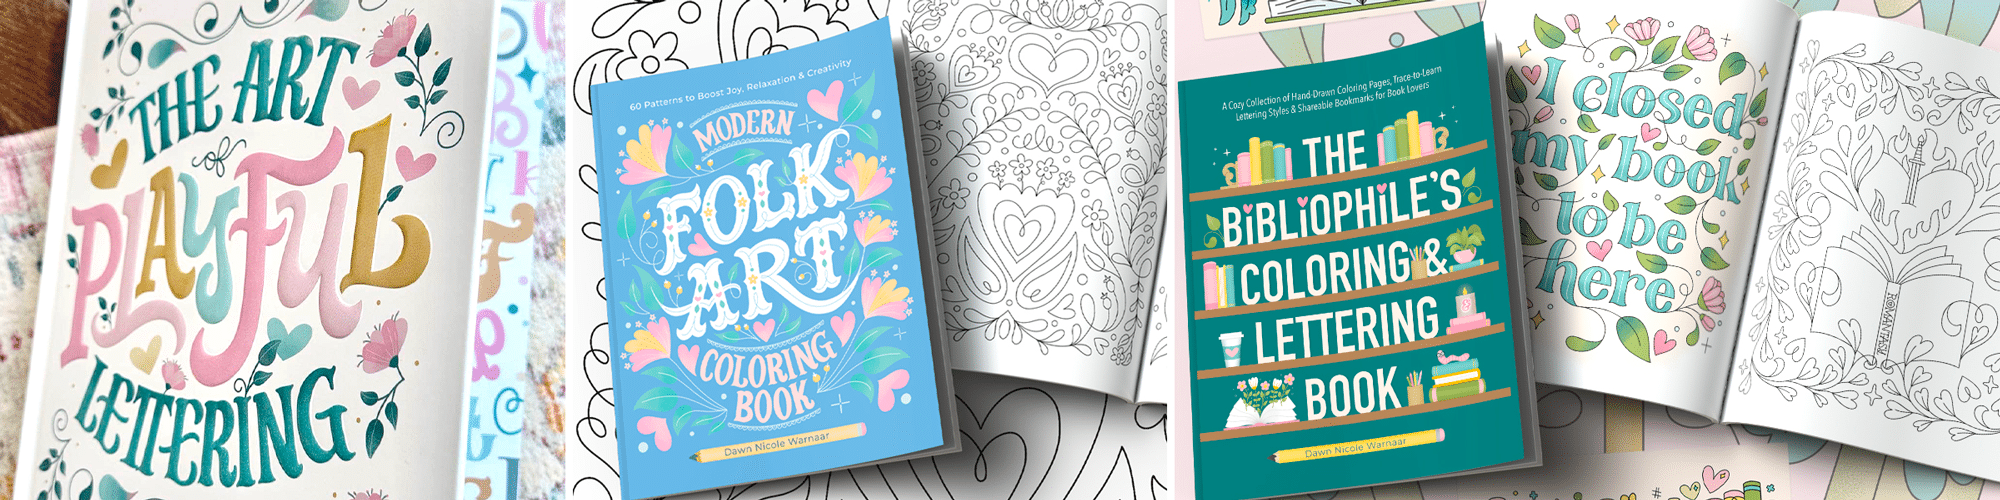
- Grab a copy of my book, The Art of Playful Lettering, on Amazon. Some of the info and artwork in this blog post were created for this book. That section of the book also contains color palettes to inspire your lettering creations!
- Check out the Procreate Brush Sets and Online Classes in my lettering shop.
- Pre-order my Modern Folk Art Coloring Book to relax and color my hand-drawn designs.
- Check out my 2025 Playful Lettering Style Challenge.
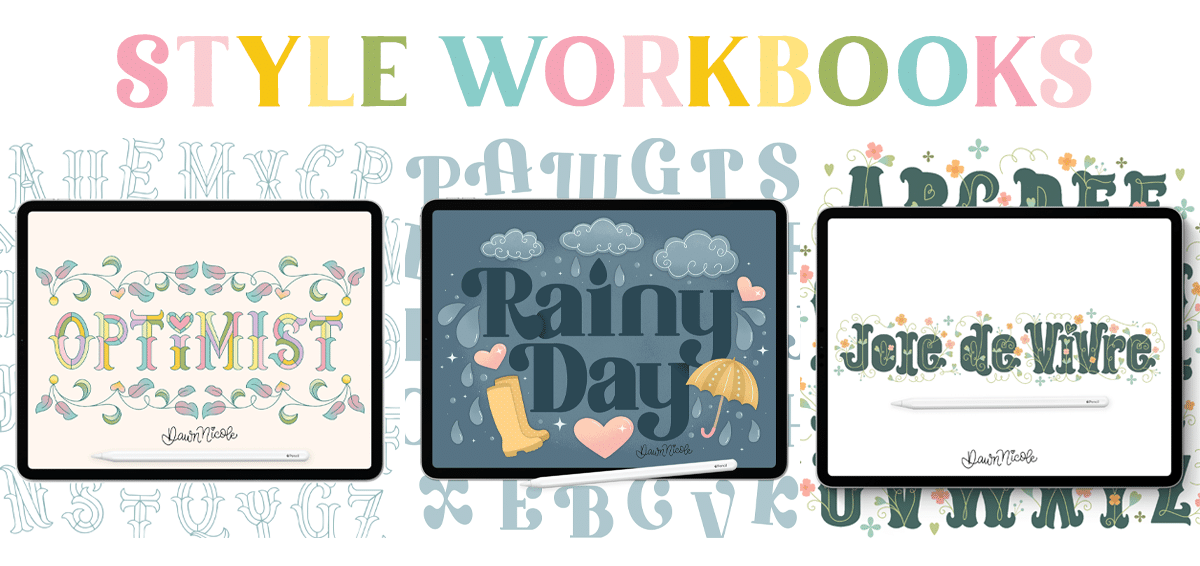
From the lettering Shop
Check out my five-star rated Procreate Brush Sets, Classes, & Lettering Style Workbooks!
I hope you enjoy the Multi-Dimensional Lettering Style!
Happy lettering!


