How to Make a Logo Stamp Brush in Procreate. Create your own logo stamp brush in Procreate with this easy, step-by-step guide. A simple way to add branding to your digital artwork.

How to Make a Logo Stamp Brush in Procreate
Branding your digital artwork does not have to be complicated. In this tutorial, I’ll show you how to make a custom logo stamp brush in Procreate using a simple, beginner-friendly process.
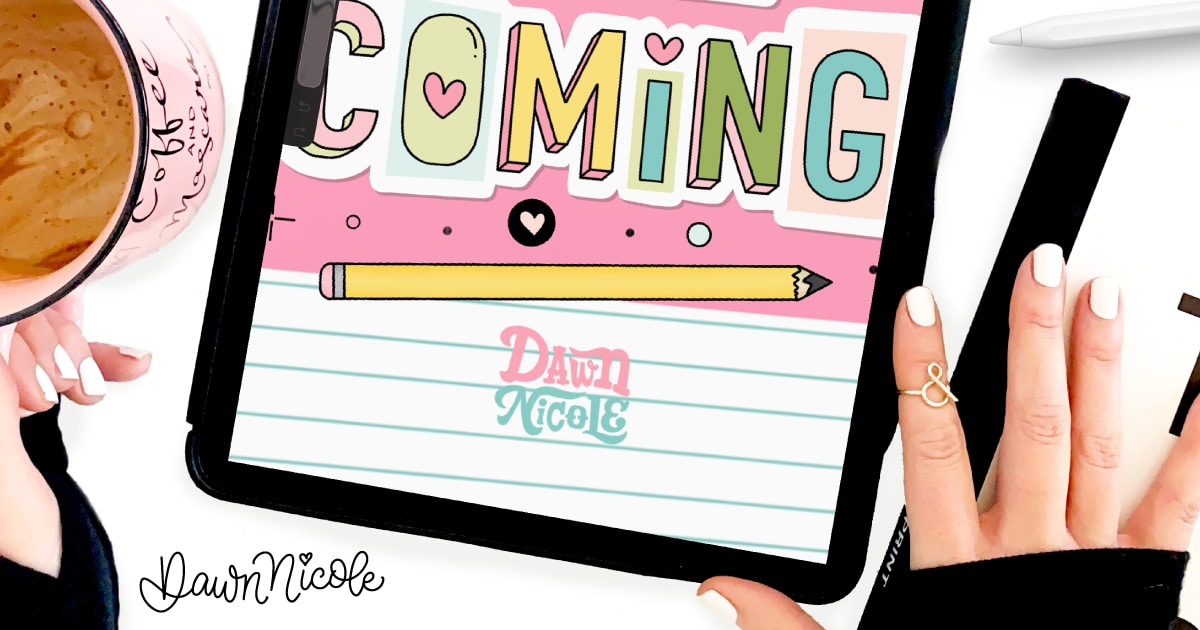
Once you have it set up, you can quickly add your logo or signature to illustrations, social media graphics, and finished artwork with just one tap, saving time while keeping your branding consistent.
VIDEO TUTORIAL
Here’s a short video lesson on how to make a Logo Stamp Brush in Procreate
This year is all about sharing TONS of free Procreate video tutorials!
Subscribe to my YouTube Channel!

How to Make a Logo Stamp Brush in Procreate: WRITTEN STEPS
Follow the steps below to create your stamp!
One: Create Your Design
- Open Procreate and create a new square canvas. I like to make it 3000px by 3000px so it’s a nice, high resolution.
- In the Layers Panel, select the Background Layer and fill it with black.
- On a new layer above the background, draw your stamp design in white. This can be your signature, logo, or any other design or shape.
- Center and resize the design to fill the canvas as much as possible.
Two: Copy the Image
- Make sure the layer with the white design is selected.
- Use a three-finger swipe down gesture on the screen to bring up the Copy/Paste menu, then tap Copy All/Copy Canvas.
Three: Create a New Brush
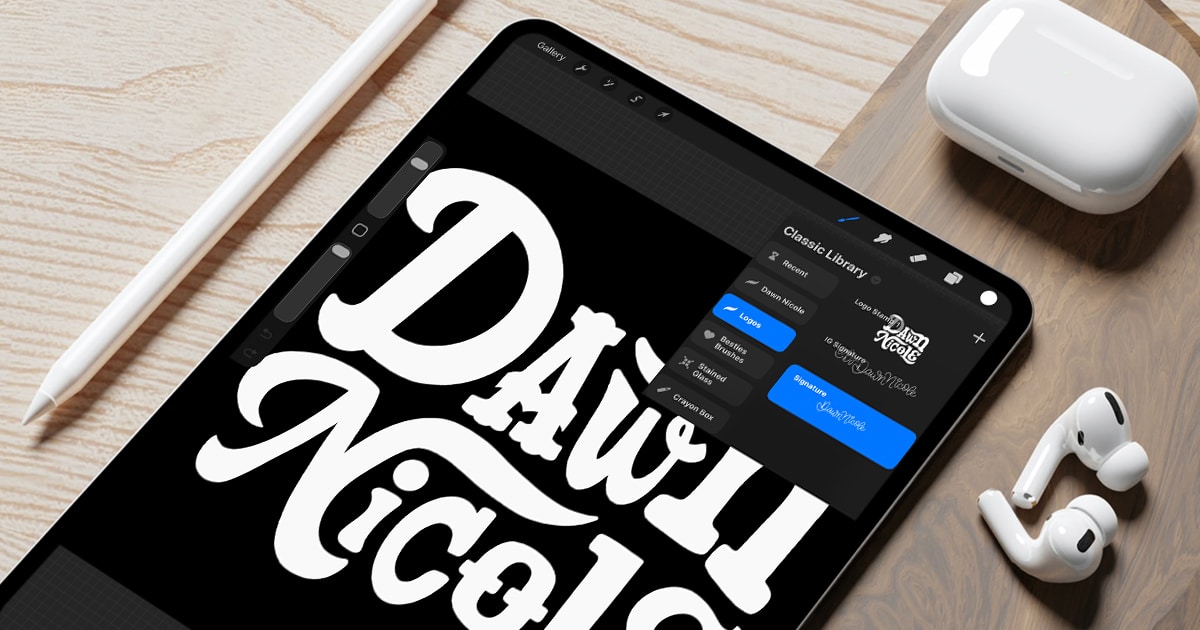
- Go to the Brushes Panel (brush icon) and tap the Plus Sign (+) at the top of the brush library to create a new brush set or add to an existing one.
- Tap the Plus Sign (+) again to open the Brush Studio and create a new brush.
Four: Import the Shape Source
- In the Brush Studio, go to the Shape tab.
- Tap Edit > Import > Paste. Your white design should appear in the editor.
- If your design has a white background and a black design, tap the image with two fingers to invert it to a black design on a white background.
- Tap Done.
Five: Adjust Brush Settings
- Go to the Stroke Path tab and slide the Spacing slider all the way to max. This enables the brush to act as a single stamp rather than a line.
- Go to the Apple Pencil tab and slide the Opacity setting under pressure to none.
- Go to the Properties tab and set the Maximum Size slider to the maximum. This will let you use the stamp at full resolution.
- Under the Preview Tab, toggle on Use Stamp Preview. Adjust the size so that your whole stamp fits in the preview window.
Six: Name and Save Your Brush
- Go to the About this Brush Tab and complete the section as desired.
- To name your brush, open the Brush Library, tap and hold the brush you want to change, select Rename from the menu, type your new name, and tap Done to save
 Happy Lettering!


 Happy Lettering!

