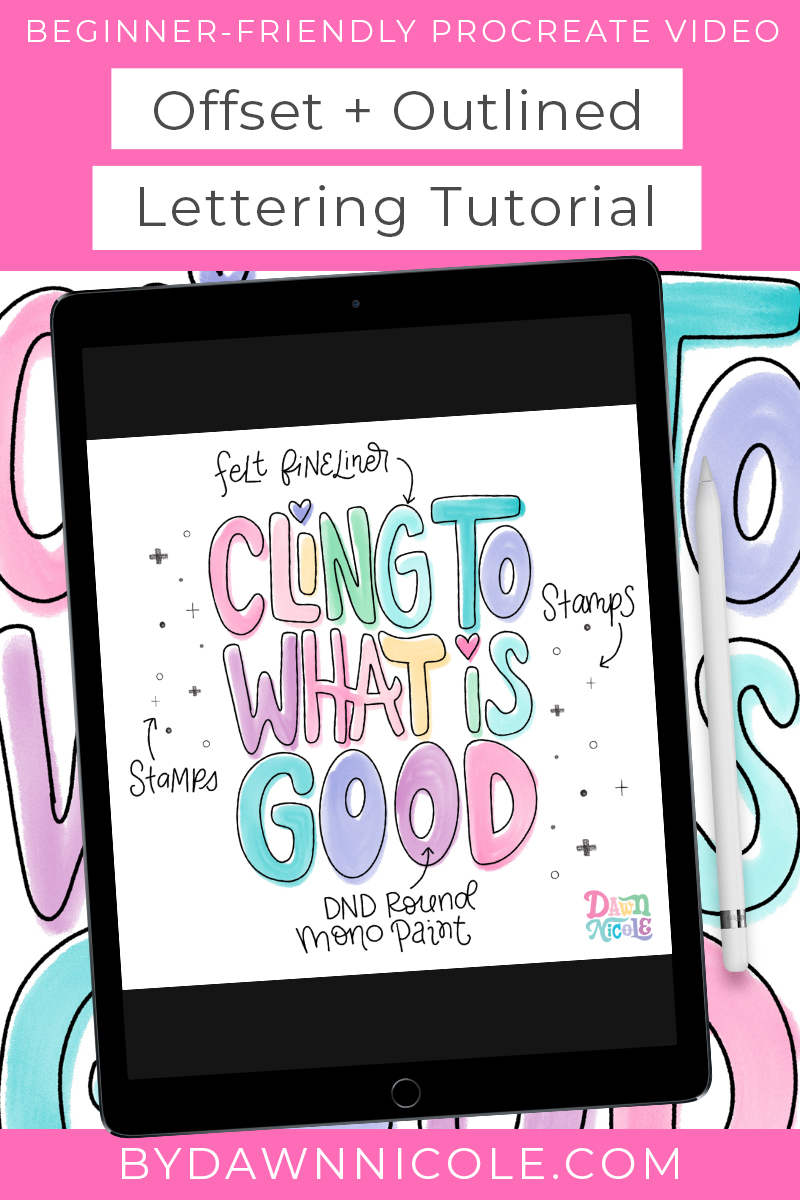
Offset + Outlined Lettering Tutorial. Follow along with my Procreate Lettering tutorial to learn how to create this fun, easy artwork.
Offset + Outlined Lettering Tutorial
Whenever I release a new Procreate Brush Kit, I always like to share a few free tutorials on the blog to show you examples of what you can create with them.
For today’s beginner-friendly tutorial, we’re using a few brushes and stamps from The Creativity Kit.
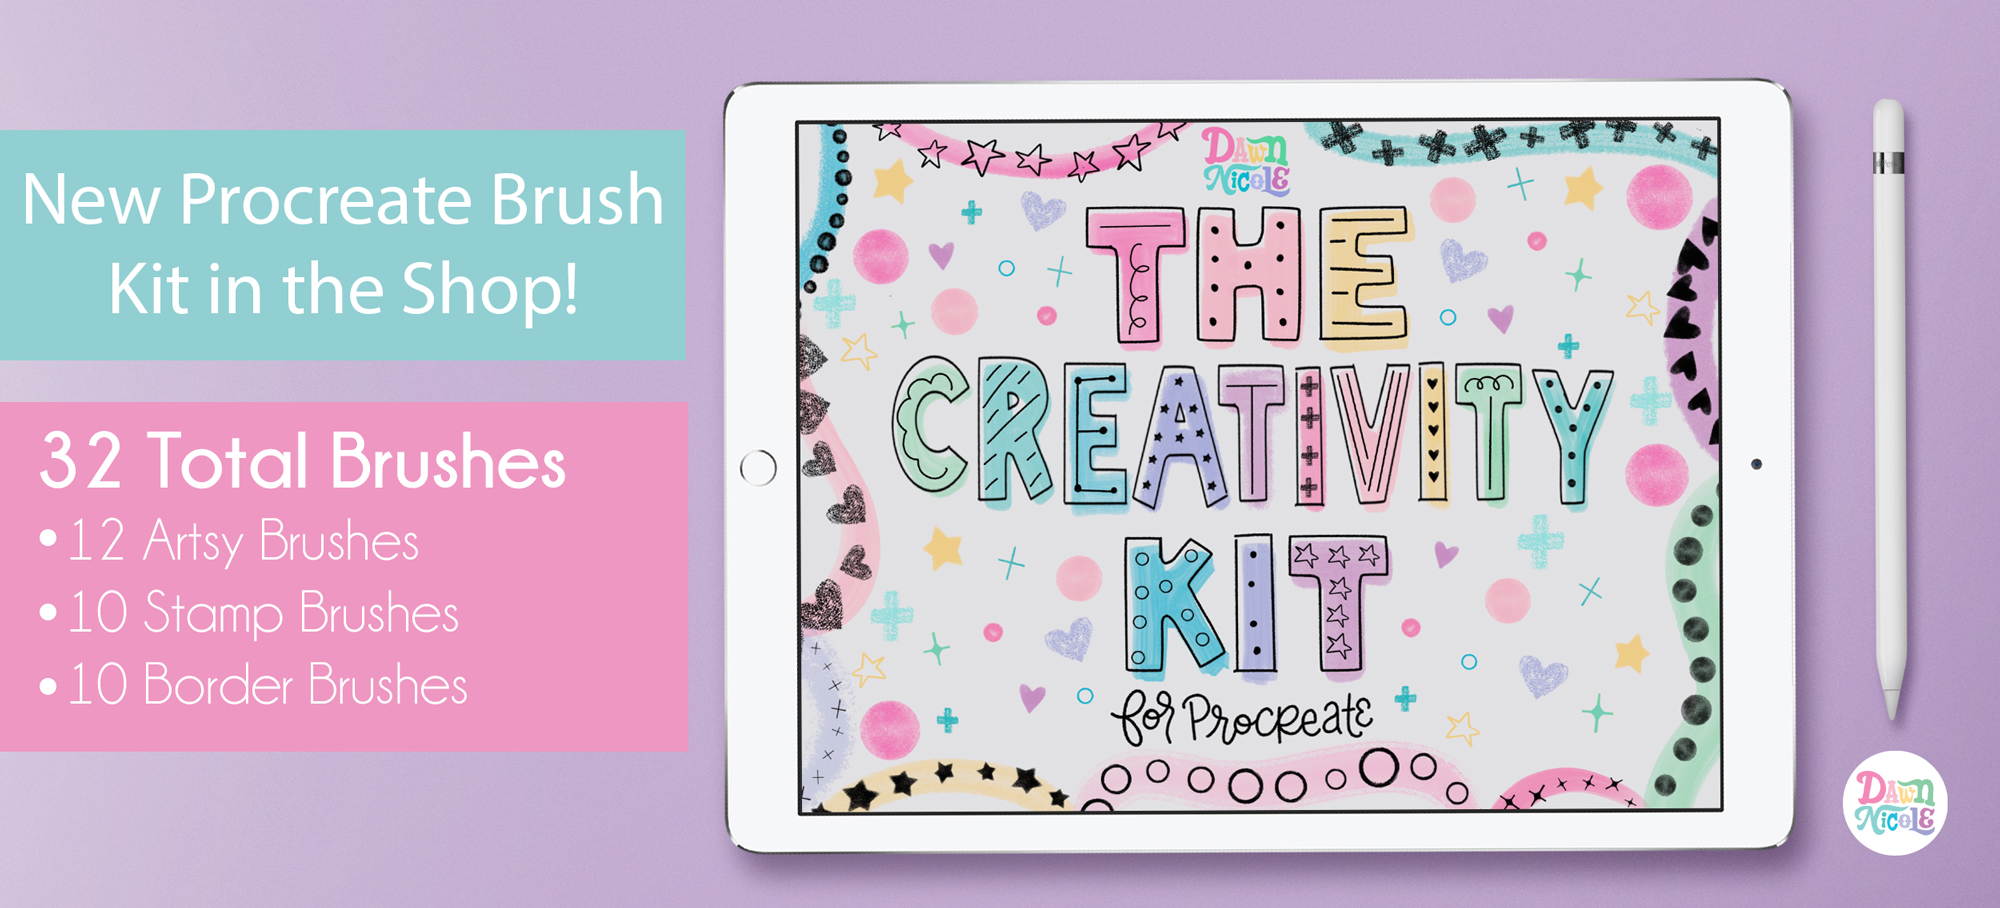
Get The Creativity Kit for Procreate
What We’re Creating
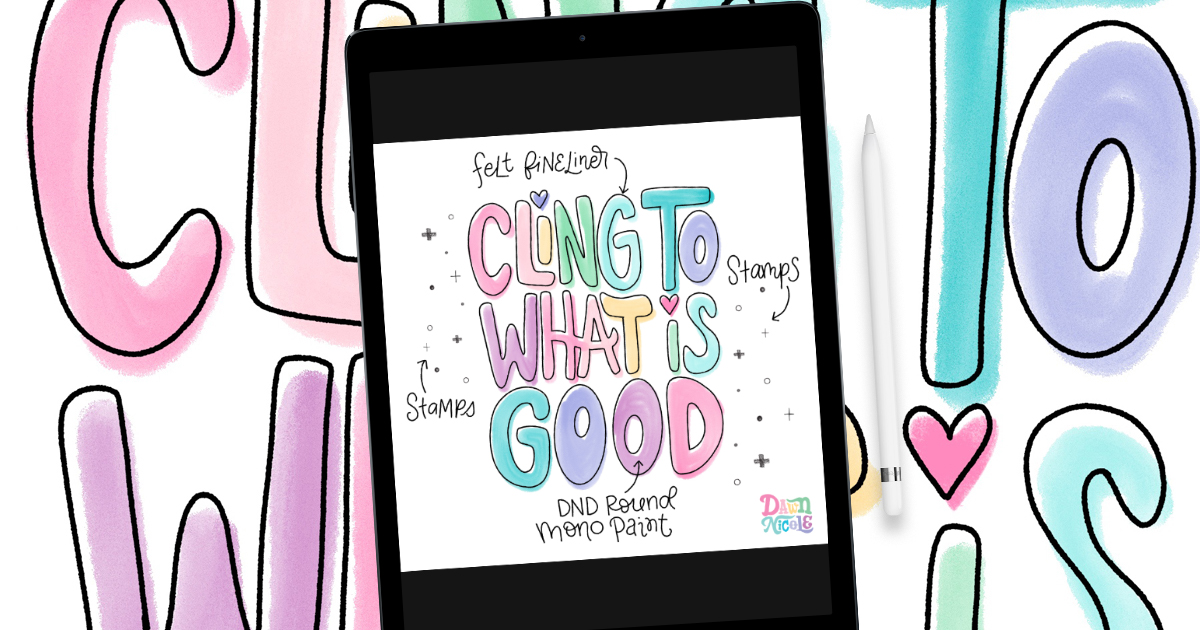
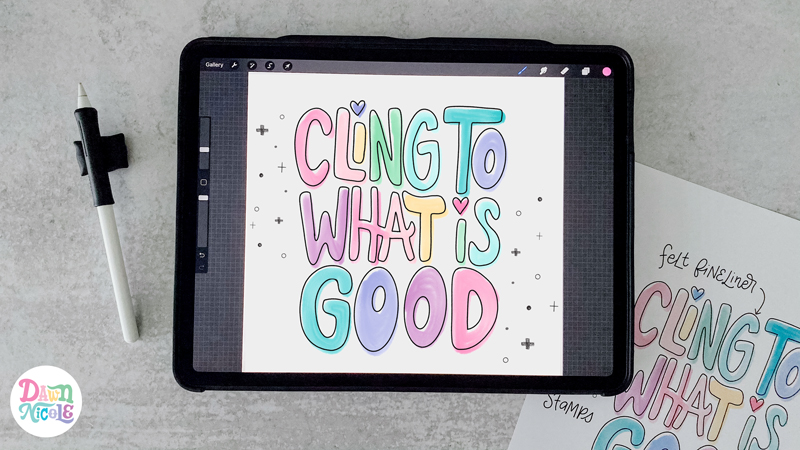
Here is the Offest and Outlined Lettering piece we’ll create together.
Here’s what you’ll need for this tutorial
- iPad with Apple Pencil Capabilities
- Apple Pencil
- Procreate App
- Brushes and Stamps from The Creativity Kit for Procreate
OFFSET + OUTLINED LETTERING: VIDEO LESSON
Here are the basic steps (it’s so easy)!
- Draw the outline of your lettering.
- Open a new layer and drag it beneath your outline lettering layer. Color in the letters.
- Move the colored layer slightly right and down using the arrow tool to create the offset.
- Add fun stamps on a new layer.
The video lesson is just a bit over 10-minutes long. You can also watch it below.
VIDEO OUTLINE
In case you want to skip or re-watch any portions of the tutorial, here are the timestamps for each section.
- 00:00 Intro
- 00:13 Welcome + Overview
- 01:17 Canvas + Outline of Lettering
- 02:40 Coloring in your Lettering + Tips for Using Brushes with Opacity
- 05:04 Making it Brighter (optional) + Offsetting your Lettering
- 06:26 Using + Adding the Stamps
- 09:26 Closing Remarks + Example of Taking this Tutorial a Step Further for your next lettering piece

 Offset + Outlined Lettering Tutorial
 Offset + Outlined Lettering Tutorial
I’d love to see what you create! Post your version and tag me on Instagram at @bydawnnicole.
LET’S CONNECT
Facebook // Pinterest // Instagram // Shop


Thanks! Enjoyed the quick tutorial!
You’re so welcome, Donna! Glad to hear you enjoyed it. 🙂