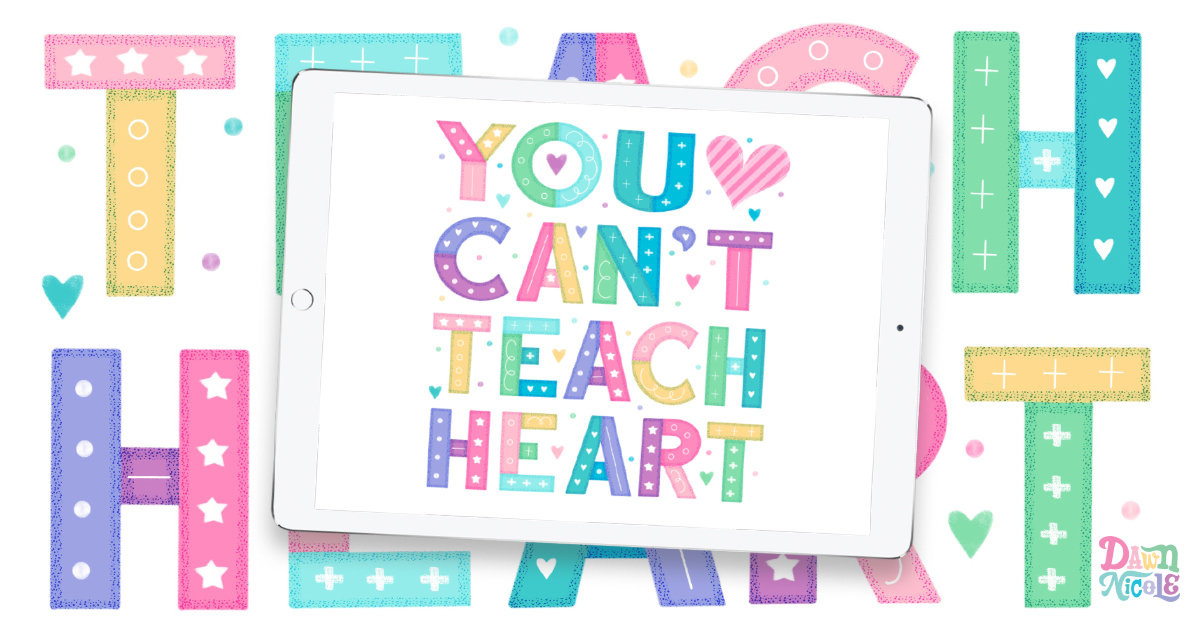
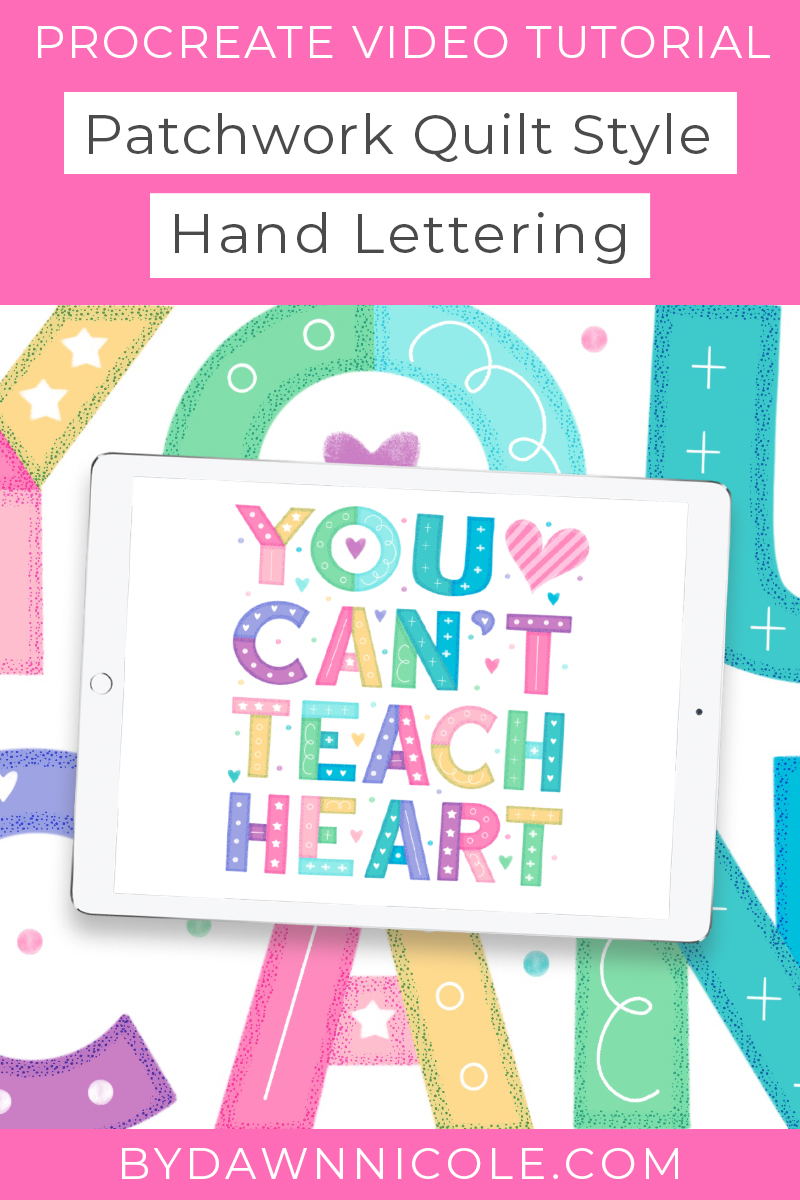
Patchwork Quilt Lettering Style Tutorial. Follow along with the step-by-step tutorial for how I create this cute patchwork quilt lettering!
Patchwork Quilt Lettering Style Tutorial
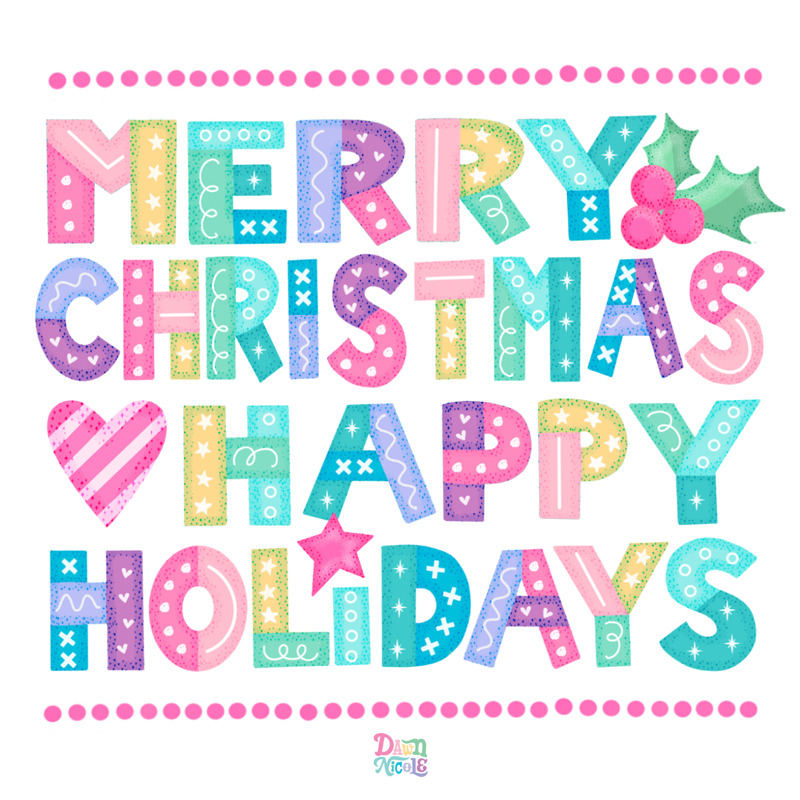
I first shared work in this lettering style on my Instagram during the holidays. I had so much fun with it that I’ve since created several pieces using the same techniques and aesthetics.
Now, I’m teaching you exactly how I do it in a short and sweet Procreate Video Tutorial.
Note: This video isn’t quite as detailed or long as some of my others, largely because I’m using methods I’ve already taught you in past Procreate Video Tutorials. While I will walk you through the main steps, I’m focusing on the tips and tricks to help you create this style more quickly and consistently.
Ready? Let’s get started!
HERE’S WHAT YOU’LL NEED FOR THIS TUTORIAL
- iPad with Apple Pencil Capabilities
- Apple Pencil
- Procreate App
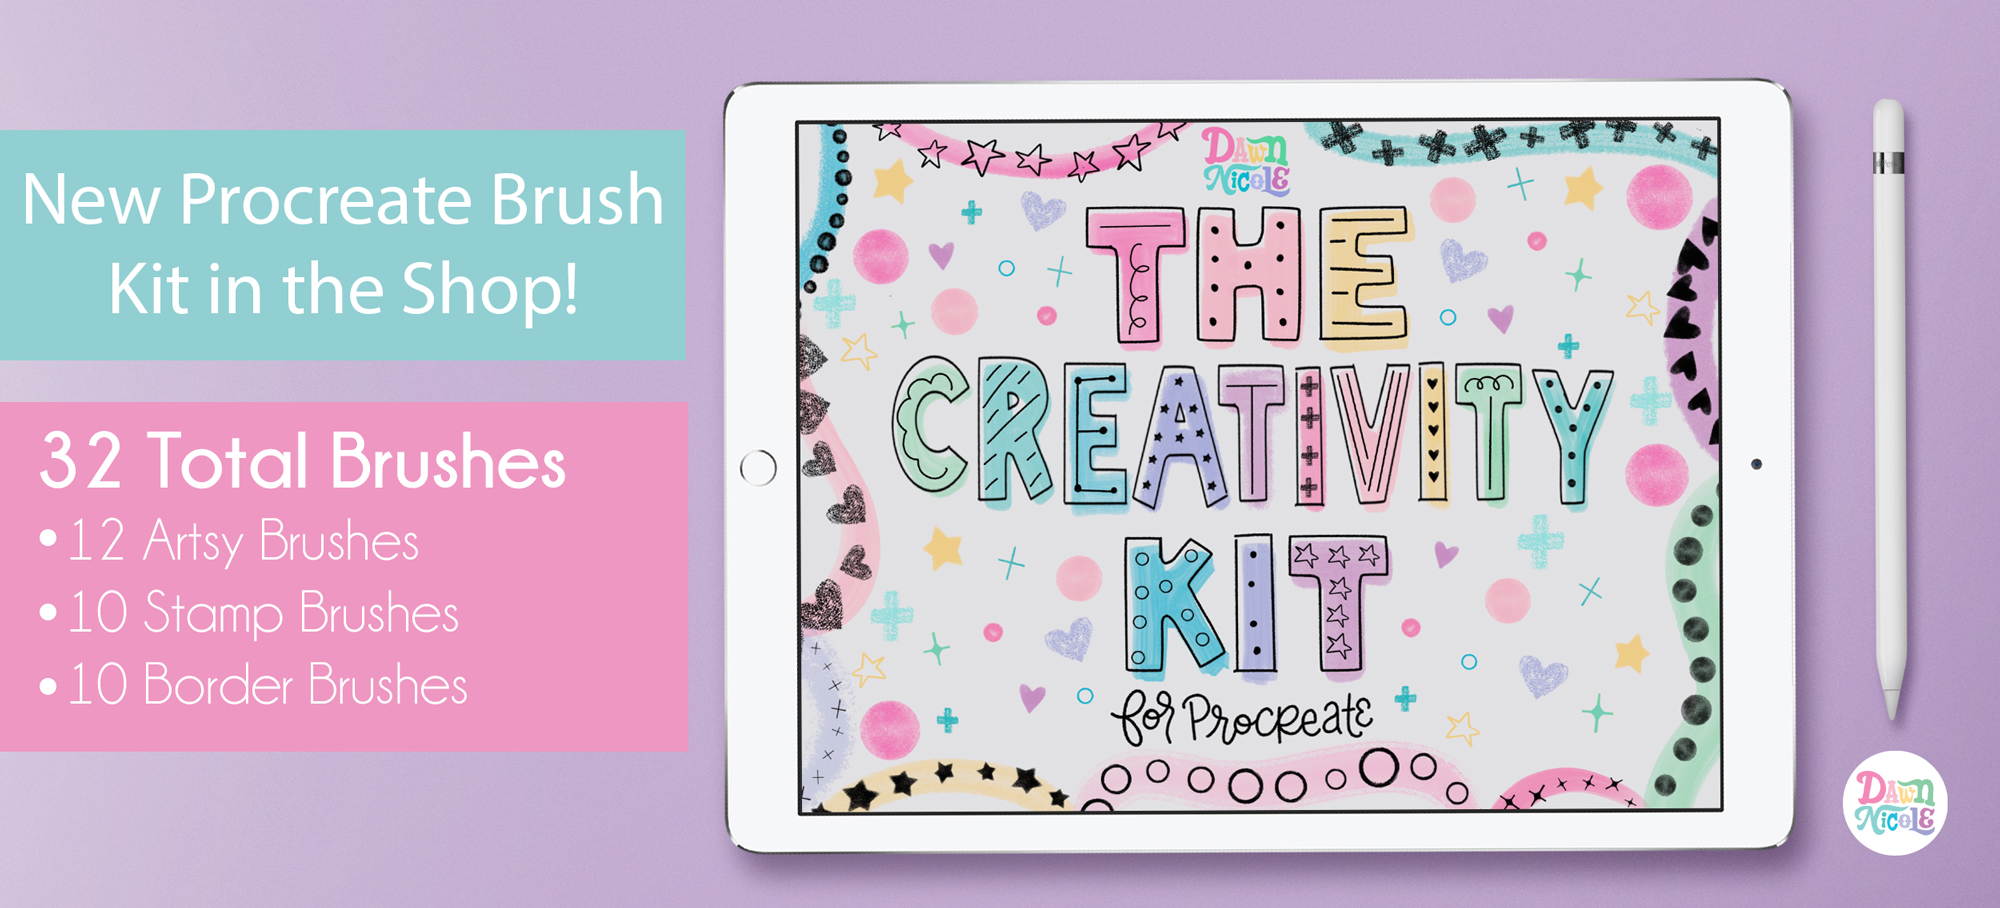
- Brushes and Stamps from The Texture Kit and The Creativity Kit for Procreate
- Optional: The Letter + Grid Builder Bundle by Stefan Kunz and Ian Barnard
Get The Creativity Kit for Procreate
Get The Texture Kit for Procreate
The basic steps
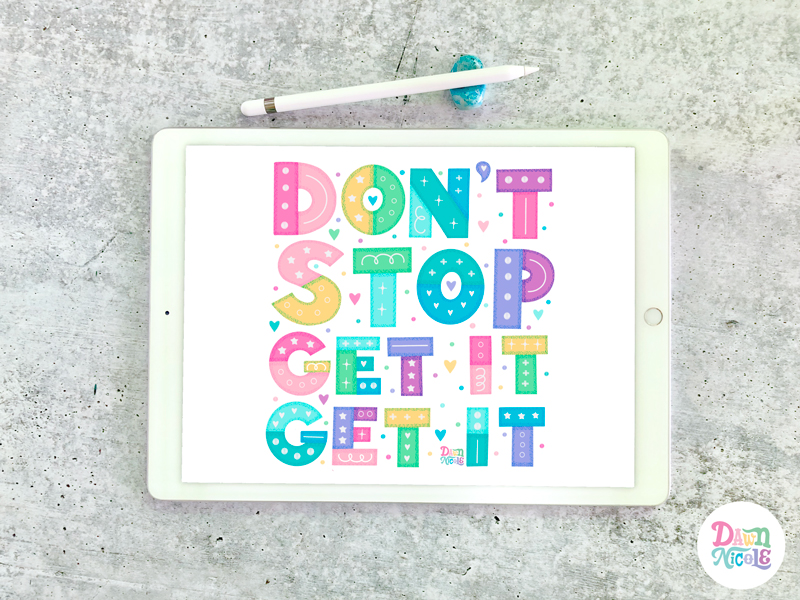
- Draw your lettering in a basic block sans serif style. I use a combo of drawing assist and The Letter + Grid Builder Bundle for this step.
- Tap layer and select “Alpha Lock.” Color in the letters using a color block style. I usually change colors for every letter stroke.
- Add a new layer above your lettering. Tap the layer and select “clipping mask.” Using a dark teal and the Speckled Shader brush (from The Texture Kit), outline each section of color.
- Use a variety of doodles on a new layer on each color block. I mainly use Stamps from The Creativity Kit for this step and the DND Felt Fineliner brush for the straight and curly lines.
- Optional: On another new layer, add a variety of hearts, dots, etc. in between the letters to fill the space.
PATCHWORK QUILT LETTERING: VIDEO LESSON
The video lesson is a bit over 11 minutes long.
Friendly Note: I hope you’ll use my lettering work and tutorial to inspire your artwork. Please remember, there’s a fine line between being inspired by someone else’s work and being a copycat, so be sure to create something original and give inspiration credit where credit is due. 💖
VIDEO OUTLINE
If you want to skip or re-watch tutorial portions, here are the timestamps for each section.
- 00:00 Intro
- 00:14 Welcome + Overview
- 00:39 Setting up the Layout + Grids + Drawing Guide
- 02.59 Drawing and Color Blocking the Lettering
- 05:56 Adding the Letter Shading/Texture
- 08:57 Adding Details with Stamps and Brushes
- 10:15 A few notes and more examples in this style
- 11:07 Closing
MORE VIDEOS ON THE LETTER GRIDS
Here are two more helpful videos on using the Letter Grids I showed you in the tutorial.
Patchwork Quilt Lettering Style Tutorial
I’d love to see what you create! Post your version and tag me on Instagram at @bydawnnicole.
LET’S CONNECT
Facebook // Pinterest // Instagram // Shop


Excited to try this and create my own designs and quotes. Thank you Dawn Nicole! Keep inspiring 💖
Yay! I look so forward to seeing what you create. Happy lettering!