Ready to learn hand lettering in Procreate? This comprehensive guide covers everything from the tech to the tutorials.
Hand Lettering in Procreate: The Ultimate Guide
If you’ve ever dreamed of creating beautiful hand lettering on your iPad, you’re in the right place!
Procreate makes it easier than ever to learn lettering, experiment with different styles, and create artwork you can share, print, or even sell.
In this guide, I’ll answer the most common questions beginners have about hand lettering in Procreate, from choosing the right tools to improving your skills and finding free resources to help you grow.
What iPad Do I Need to Start Hand Lettering in Procreate?
The good news is that you don’t need the newest or most expensive iPad to start hand lettering in Procreate. If your goal is to learn lettering, practice new styles, and create beautiful digital artwork, even Apple’s budget-friendly iPads can get the job done.
To use Procreate, you’ll need an iPad that supports both the Procreate app and an Apple Pencil. For most beginners, the standard iPad paired with an Apple Pencil is the best place to start. It gives you everything you need to practice lettering without the higher price tag of an iPad Pro.
If you’re shopping on a budget, consider:
- A current-generation standard iPad
- A refurbished iPad from Apple
- A gently used iPad that supports Apple Pencil
The most important feature isn’t having the biggest screen or fastest processor. It has pressure-sensitive Apple Pencil support so your lettering brushes can create smooth, thick, and thin strokes.
I’ve created thousands of lettering projects in Procreate, and while larger screens are nice, they aren’t required. Many beginners start with a standard iPad and create amazing work.
My recommendation? Buy the best iPad that comfortably fits your budget, then spend the money you save on learning and practice. Great lettering comes from developing your skills, not from owning the most expensive device.
Bottom Line
If your iPad supports Procreate and Apple Pencil, you’re ready to start hand lettering. A standard iPad is more than enough for most beginners.
Is Procreate Really the Best App for Digital Hand Lettering?
If you’re researching digital lettering apps, you’ve probably come across dozens of options. While there are plenty of apps that let you draw and write on your iPad, Procreate remains my top recommendation for hand lettering.
Why? Because Procreate strikes the perfect balance between powerful features and ease of use.
Unlike many design apps that require a monthly subscription, Procreate is a one-time purchase. Once you own it, it’s yours. That’s a huge advantage for beginners who want to learn a new skill without committing to another recurring expense.
Procreate also offers features that lettering artists use every day, including:
- Pressure-sensitive brushes for beautiful thick and thin strokes
- Custom lettering brushes
- Layers for easy editing
- Guides and grids for consistent lettering
- Time-lapse recording
- High-resolution canvases for printing and selling artwork
Could you create lettering in other apps? Absolutely. Apps like Adobe Fresco, Adobe Illustrator, and even Canva have lettering capabilities. But most lettering artists find that Procreate feels more natural, intuitive, and enjoyable to use.
One of the biggest reasons I recommend Procreate is the learning community. There are thousands of tutorials, classes, brushes, and free resources available specifically for Procreate users. When you’re learning something new, having access to that support can make a huge difference.
If your primary goal is digital hand lettering on an iPad, I believe Procreate offers the best combination of affordability, flexibility, and creative freedom available today.
Bottom Line
If you’re serious about learning digital hand lettering, I’d recommend starting with Procreate. It’s beginner-friendly enough to get started quickly while offering enough advanced features to grow with you for years.
Can I Learn Hand Lettering in Procreate With No Art Experience?
Absolutely.
In fact, many people who start hand lettering in Procreate have little to no artistic experience. You don’t need to know how to draw realistic portraits, paint landscapes, or create detailed illustrations to become a lettering artist.
Hand lettering is a skill, not a talent you’re born with.
Like learning to ride a bike, bake a cake, or play a musical instrument, lettering improves with practice. Every lettering artist you admire started somewhere, and most of us have a collection of cringe-worthy early projects to prove it.
One reason Procreate is so beginner-friendly is that it provides tools that make learning easier. You can:
- Trace worksheets while learning letterforms
- Use guides and grids to keep letters consistent
- Undo mistakes instantly
- Practice on unlimited digital paper
- Experiment without wasting supplies
When you’re first starting out, focus on learning the fundamentals rather than creating perfect artwork. Practice basic strokes, study letter shapes, and build muscle memory. The fancy flourishes and elaborate compositions can come later.
I often tell new students that lettering is less about drawing and more about observation. You’re learning to see the shapes, spacing, and structure that make letters look beautiful. Once you understand those building blocks, your confidence grows surprisingly quickly.
The most important thing is to give yourself permission to be a beginner. Your first lettering project won’t look like your hundredth, and that’s exactly how learning is supposed to work.
Bottom Line
You do not need artistic experience to learn hand lettering in Procreate. If you can write the alphabet and you’re willing to practice, you already have everything you need to get started.
How Much Does It Cost to Get Started With Procreate Hand Lettering?
One of my favorite things about digital hand lettering is that it can be surprisingly affordable compared to many traditional art hobbies.
At a minimum, you’ll need:
- An iPad that supports Procreate
- An Apple Pencil
- The Procreate app ($12.99)
The Procreate app itself is a one-time purchase with no monthly subscription fees, which is one of the reasons it’s so popular among artists and hobbyists.
If you already own a compatible iPad, getting started can cost a little more than the price of the app and an Apple Pencil. If you need to purchase an iPad as well, your investment will be higher, but you certainly don’t need the most expensive model on the market to create beautiful lettering.
The good news? You don’t need fancy accessories, premium brushes, or expensive courses to begin learning. Procreate comes with plenty of built-in brushes, and there are thousands of free tutorials available online.
Many beginners start with:
- A standard iPad
- An Apple Pencil
- The Procreate app
- Free practice worksheets
That’s enough to learn the fundamentals and decide whether lettering is a hobby you’d like to pursue further.
As your skills grow, you may choose to invest in additional brushes, classes, or resources, but none of those are required to get started.
Bottom Line
The biggest expense is usually the iPad itself. Once you have a compatible iPad and Apple Pencil, learning hand lettering in Procreate is one of the most affordable creative hobbies available, thanks to Procreate’s one-time purchase model and abundance of free learning resources.
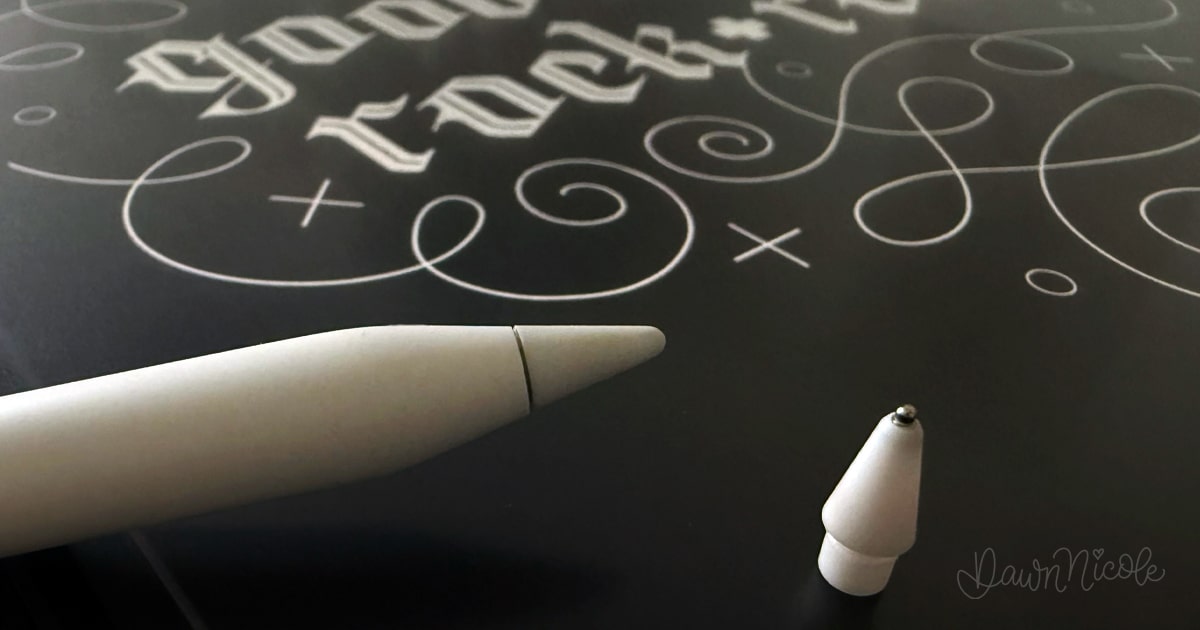
What Apple Pencil Should I Buy for Hand Lettering?
If you’re serious about learning hand lettering in Procreate, my recommendation is simple: buy an Apple Pencil that’s compatible with your iPad.
While there are many third-party styluses available, none offer the same lettering experience as an Apple Pencil.
The biggest reason is pressure sensitivity.
When you use lettering brushes in Procreate, the amount of pressure you apply affects the width of your stroke. Press lightly, and you’ll create thin lines. Press harder, and you’ll create thick lines. This pressure-sensitive response is what allows you to create the beautiful thick-and-thin strokes that are characteristic of modern calligraphy and hand lettering.
Most inexpensive styluses don’t offer true pressure sensitivity. They may work for tapping, sketching, or taking notes, but they won’t provide the natural brush control that lettering artists rely on.
An Apple Pencil also offers:
- Excellent palm rejection
- Precise drawing accuracy
- Minimal lag
- Tilt sensitivity for certain brushes
- Seamless integration with Procreate
The specific Apple Pencil you need depends on your iPad model, so always check compatibility before purchasing. The good news is that every current Apple Pencil supports pressure sensitivity, which is the feature that matters most for lettering.
If you’re trying to save money, I’d recommend purchasing a less expensive iPad before sacrificing the Apple Pencil. The stylus has a much bigger impact on your lettering experience than upgrading to a higher-end iPad.
Bottom Line
For hand lettering in Procreate, an Apple Pencil is worth the investment. Its pressure sensitivity allows you to create smooth thick-and-thin strokes that simply aren’t possible with most third-party styluses.
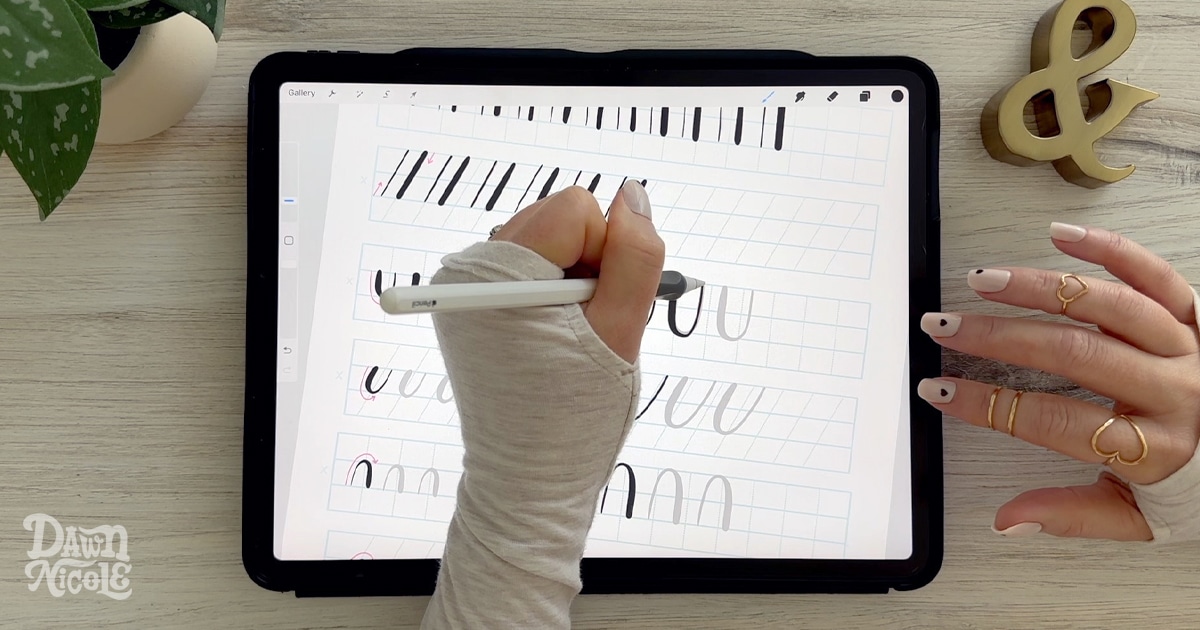
How Do I Make My Handwriting Look Better in Procreate?
If your lettering looks shaky, uneven, or just not as polished as you’d like, don’t worry. That’s one of the most common frustrations beginners experience when they first start hand lettering in Procreate.
The good news? It’s usually not your handwriting.
Hand lettering is different from everyday handwriting. Instead of quickly writing words from muscle memory, you’re intentionally drawing letterforms. Like any new skill, it takes practice to develop control and consistency. Check out my Modern Penmanship Tips for doing this in practice!
One of the easiest ways to improve your lettering is to slow down. Most beginners try to write at the same speed they use when taking notes, which often leads to wobbly lines and inconsistent letter shapes.
Procreate also includes tools that can help smooth your strokes:
- StreamLine (or Stabilization) for smoother lines
- Drawing guides for consistent spacing
- Layers for easy corrections
- Undo and redo for stress-free practice
Beyond the technical tools, focus on a few key lettering fundamentals:
- Keep your letter height consistent
- Pay attention to the spacing between letters
- Use guidelines whenever possible
- Practice common letter shapes repeatedly
- Study lettering styles you admire
One mistake many beginners make is comparing their first few weeks of practice to artists who have spent years developing their skills. Beautiful lettering isn’t about having naturally perfect handwriting. It’s about training your eye to recognize good letterforms and practicing them consistently.
I often tell students that consistency matters more than perfection. A simple alphabet with even spacing and uniform letter shapes will almost always look better than an elaborate style that’s rushed or inconsistent.
Bottom Line
If your lettering looks shaky or uneven, you’re not doing anything wrong. Slow down, use Procreate’s stabilization tools, practice basic letterforms, and give yourself time to build muscle memory. Your lettering will improve much faster than you think.
What Are the Best Procreate Brushes for Hand Lettering?
One of the best things about Procreate is the incredible variety of lettering brushes available. Whether you love modern calligraphy, monoline lettering, brush lettering, script styles, or playful hand-drawn fonts, there’s a brush that can help you achieve the look you’re after.
That said, beginners often make the mistake of thinking they need hundreds of brushes to create beautiful lettering.
You don’t.
In fact, I’d recommend starting with just a few quality brushes and learning how they behave before building a larger collection. Many professional lettering artists regularly use only a handful of favorite brushes.
When choosing lettering brushes, look for:
- Smooth pressure-sensitive strokes
- Natural thick-and-thin transitions
- Consistent brush performance
- A style that matches your lettering goals
- Good responsiveness with Apple Pencil
You’ll also want to experiment with different brush categories. Monoline brushes are great for beginners because they create uniform strokes and make it easier to focus on letter structure. Brush pens are ideal for modern calligraphy and script lettering, while textured brushes can add personality and a hand-crafted feel to your work.
The “best” brush ultimately depends on your style and preferences. A brush that feels perfect for modern calligraphy may not be the best choice for bold block lettering or playful illustrated words.
If you’re not sure where to start, I’ve put together a detailed guide to my favorite lettering brushes, including recommendations for different lettering styles and skill levels.
Related Reading: Check out my guide to the best Procreate brushes for hand lettering for my favorite brush recommendations, tips, and resources.
Bottom Line
The best Procreate brush is the one that helps you create the lettering style you love. Start with a few quality brushes, learn their strengths, and focus on improving your lettering skills rather than collecting hundreds of brush files.
How Long Does It Take to Learn Hand Lettering in Procreate?
One of the most common questions beginners ask is, “How long before my lettering looks good?”
The honest answer: it depends on how often you practice. But most people can see noticeable improvement within just a few weeks.
If you’re practicing a few times each week, here’s a realistic timeline:
After a few days
- You’ll become comfortable navigating Procreate
- You’ll learn how lettering brushes work
- Your strokes will start feeling more natural
Then, after a few weeks
- Your letterforms will become more consistent
- Spacing and alignment will improve
- You’ll feel more confident creating simple lettering projects
And a few months
- You’ll develop better control and muscle memory
- Your work will look noticeably more polished
- You’ll begin developing your own lettering style
After a year or more
- Lettering techniques will feel second nature
- You’ll have a strong understanding of composition and design
- You’ll be able to tackle more advanced lettering projects with confidence
The biggest factor isn’t talent. It’s consistency.
Practicing for 15 to 20 minutes a few times each week will usually produce better results than a single marathon practice session once a month. Like learning any creative skill, small, regular practice sessions add up over time.
It’s also important to remember that improvement isn’t always obvious day-to-day. Many beginners feel stuck, only to look back at their work a month later and realize how much they’ve grown.
Don’t measure your progress against professional lettering artists. Measure it against where you were last week.
Bottom Line
Most beginners can create lettering they’re proud of within a few weeks of consistent practice. The more regularly you practice, the faster your confidence and skills will grow.
Can I Actually Make Money With Hand Lettering Skills?
Yes, you can absolutely make money with hand lettering skills.
That said, it’s important to have realistic expectations. Most people don’t learn hand lettering and immediately quit their day job. Like any creative skill, it takes time to develop your abilities, build a portfolio, and find the opportunities that fit your interests.
The exciting part is that hand lettering can be applied to a wide variety of projects and businesses.
Some lettering artists earn income by:
- Selling digital products and downloads
- Creating custom artwork and commissions
- Designing logos and branding elements
- Selling prints, stickers, and merchandise
- Teaching lettering classes and workshops
- Creating content for blogs, YouTube channels, and social media
- Licensing artwork to companies and brands
- Working as freelance designers or illustrators
One of the advantages of digital lettering in Procreate is that your artwork is already created in a digital format, making it easier to sell online, print on products, or incorporate into client work.
Of course, not everyone wants to turn their hobby into a business. Many people learn hand lettering simply because they enjoy creating beautiful artwork, making handmade gifts, or exploring a new creative outlet. That’s a perfectly valid goal, too.
If you do decide to pursue income opportunities, focus on improving your skills first. The strongest lettering businesses are built on a foundation of quality work, consistency, and a willingness to keep learning.
Bottom Line
Hand lettering can absolutely become a source of income, whether you’re looking for a creative side hustle or a full-time business. Start by developing your skills, building a portfolio, and exploring the opportunities that align with your interests and goals.
Why Is Procreate Better Than Paper for Learning Hand Lettering?
First, let’s be clear: you can absolutely learn hand lettering with a traditional pen and paper. Many lettering artists do.
But if your goal is to learn quickly, experiment freely, and create digital artwork, Procreate offers advantages simply not available with traditional supplies.
One of the biggest benefits is the ability to undo mistakes instantly. Instead of starting over when a letter doesn’t look right, you can tap Undo and keep practicing. That removes a lot of the frustration beginners often experience.
Procreate also gives you access to tools that make learning easier:
- Layers for tracing and refining artwork
- Lettering guides and grids
- Adjustable brush settings
- Easy resizing and repositioning
- Unlimited digital practice pages
- Time-lapse recordings so you can review your process
Another major advantage is cost. With traditional lettering, you’ll eventually need to replace pens, markers, paper, and other supplies. In Procreate, you can practice for hours without using a single sheet of paper.
Many beginners also find that digital lettering feels less intimidating. There’s less pressure to create a perfect piece because mistakes are easy to fix and experimentation is encouraged.
Perhaps my favorite advantage is the ability to trace and study letterforms. You can lower the opacity of a worksheet, create a new layer, and practice directly on top of example letters. This can significantly speed up the learning process while helping you build muscle memory.
That doesn’t mean traditional lettering has no place. In fact, many artists enjoy both. But if your goal is to learn hand lettering efficiently while creating artwork you can easily share, print, or sell, Procreate offers a powerful set of tools that paper simply can’t match.
Bottom Line
Paper is a wonderful way to learn lettering, but Procreate makes the learning process faster, more flexible, and more forgiving. Features like layers, tracing, undo, and unlimited practice space help beginners build confidence and improve their skills more quickly.
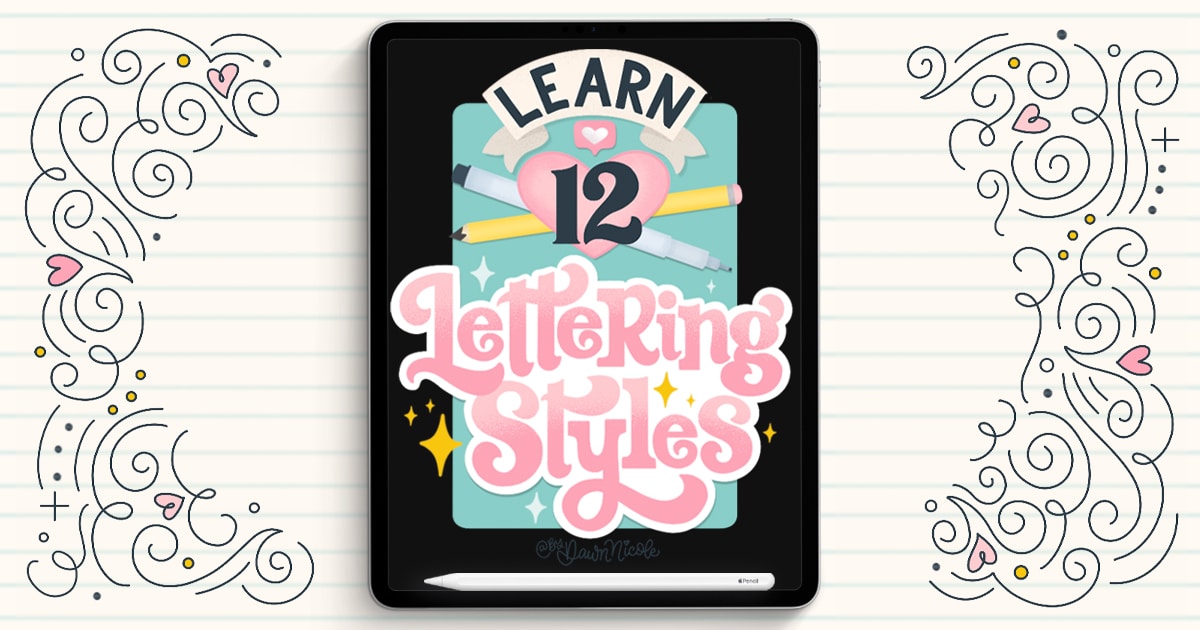
What Hand Lettering Styles Can I Learn in Procreate?
One of the best things about Procreate is that you’re not limited to a single lettering style. Whether you love elegant calligraphy, bold block letters, playful fonts, or decorative flourishes, Procreate gives you the tools to explore virtually any lettering style you can imagine.
Some of the most popular hand lettering styles include:
- Modern Calligraphy – Flowing letters with beautiful thick and thin strokes created using pressure-sensitive brushes.
- Script Lettering – Connected letters inspired by cursive handwriting and traditional calligraphy.
- Sans Serif Lettering – Clean, simple letterforms that work well for modern designs.
- Serif Lettering – Classic letterforms with decorative strokes that add elegance and personality.
- Block Letters – Bold, structured letters that are perfect for beginners and eye-catching designs.
- Bubble Letters – Rounded, playful letterforms that are fun to draw and customize.
- Modern Cursive – Sometimes the simplest thing is the best thing to practice!
- Decorative Lettering – Letters enhanced with illustrations, patterns, flowers, banners, shadows, and other creative details.
The great thing about learning in Procreate is that you can experiment with all of these styles without purchasing additional supplies. Switching from modern calligraphy to bold block lettering can be as simple as changing brushes or creating a new layer.
As you practice, you’ll probably discover that certain styles feel more natural or enjoyable than others. Many lettering artists eventually combine multiple styles to create a unique look that’s all their own.
Bottom Line
From modern calligraphy and brush lettering to bubble letters and decorative alphabets, Procreate allows you to learn and practice nearly every popular hand lettering style. The hardest part isn’t finding a style to learn, it’s deciding which one to try first!
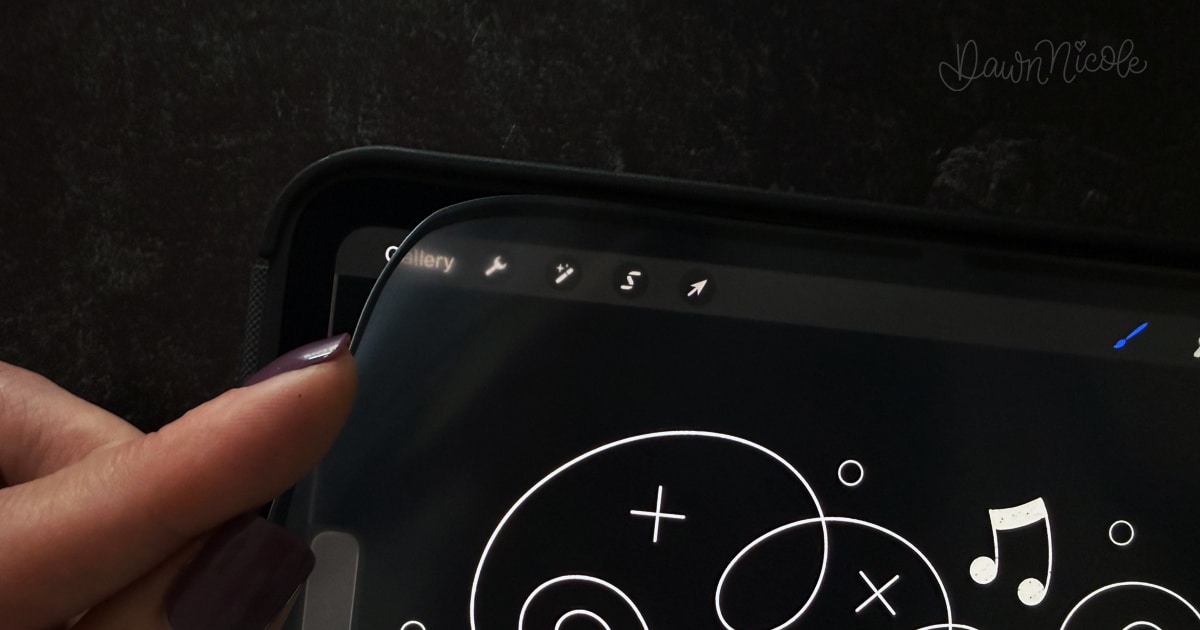
What’s the Best Way to Hold an Apple Pencil for Hand Lettering?
If you’re new to digital lettering, you might be surprised to learn that how you hold your Apple Pencil can have a big impact on your comfort, control, and lettering results.
The good news? You don’t need a special grip or complicated technique.
For most people, the best way to hold an Apple Pencil for hand lettering is similar to how you would hold a regular pen or pencil. Aim for a relaxed grip that allows your hand to move comfortably across the screen without squeezing too tightly.
As you practice, keep these tips in mind:
- Hold the Apple Pencil lightly rather than gripping it tightly.
- Let your arm and wrist move naturally.
- Maintain good posture while lettering.
- Rotate your canvas as needed rather than forcing your hand into awkward positions.
- Take breaks during longer practice sessions.
One of the biggest mistakes beginners make is gripping the Apple Pencil too tightly. This can lead to hand fatigue, shaky strokes, and discomfort during practice sessions. A relaxed grip usually produces smoother, more controlled lettering.
It’s also important to remember that hand lettering is different from everyday handwriting. Instead of relying entirely on finger movements, many lettering artists use a combination of finger, wrist, and arm movements to create smoother strokes and curves.
Don’t worry if your grip doesn’t look exactly like someone else’s in a tutorial. There isn’t one perfect way to hold an Apple Pencil. The goal is to find a comfortable position that allows you to create smooth, controlled strokes without straining your hand.
Bottom Line
Hold your Apple Pencil much like a regular pencil, but keep your grip relaxed. Comfort and control are more important than perfect technique, and a light grip will help you create smoother lettering while reducing hand fatigue.
Where Can I Find Free Hand Lettering Tutorials and Worksheets?
One of the best things about learning hand lettering today is that there are more free resources than ever. You don’t need to spend hundreds of dollars on classes or supplies to get started.
Free tutorials can help you learn:
- Basic lettering techniques
- Letter formation and spacing
- Modern calligraphy fundamentals
- Different lettering styles
- Procreate tools and settings
- Composition and layout skills
Worksheets are especially valuable for beginners because they provide structured practice. Instead of wondering what to work on next, you can trace examples, practice individual letters, and build muscle memory through repetition.
When looking for free resources, focus on materials that include:
- Step-by-step instruction
- Demonstrations or video lessons
- Printable or digital worksheets
- Beginner-friendly practice exercises
- Clear explanations of lettering fundamentals
You’ll find plenty of free tutorials right here on my website, along with downloadable worksheets and Procreate practice files designed to help you build confidence one step at a time. Whether you’re learning your first lettering alphabet, practicing calligraphy strokes, or exploring a new lettering style, there’s no shortage of free resources to help you improve.
My biggest recommendation? Don’t try to learn everything at once. Pick a single lettering style, work through a few tutorials, and practice consistently. You’ll make much faster progress than if you jump between dozens of different techniques and worksheets.
Bottom Line
You don’t need expensive classes to start learning hand lettering. Free tutorials, worksheets, and practice exercises can help you build a strong foundation and develop your skills at your own pace.
 What’s the Best iPad Screen Protector for Hand Lettering?
 What’s the Best iPad Screen Protector for Hand Lettering?
If you’ve ever tried hand lettering directly on a glass iPad screen, you’ve probably noticed that it feels very different from writing on paper.
The smooth surface can make your Apple Pencil feel slippery, which can be frustrating when you’re trying to create controlled strokes and consistent letterforms.
That’s where a screen protector can help.
Many lettering artists prefer matte screen protectors because they add a slight paper-like texture to the iPad surface. This extra friction can make lettering feel more natural and give you more control over your strokes.
When choosing an iPad screen protector for hand lettering, consider:
- Paper-like drawing feel
- Reduced glare and reflections
- Apple Pencil compatibility
- Durability and scratch resistance
- Screen clarity
That said, there isn’t a single “best” screen protector for everyone. Some artists love the textured feel of matte protectors, while others prefer the sharper display and smoother writing experience of standard glass protectors.
Personally, I found that adding a paper-like screen protector made lettering feel more comfortable and intuitive, especially when practicing longer projects and detailed letterforms.
If you’re trying to decide which option is right for your iPad, I’ve put together a detailed comparison of my favorite screen protectors, including the pros and cons of each style.
Related Reading: Check out my guide to the best iPad screen protectors for lettering and drawing to see my top recommendations and find the right fit for your workflow.
Bottom Line
A good screen protector won’t magically improve your lettering skills, but it can make the lettering experience more comfortable and enjoyable. For most beginners, a quality matte or paper-like screen protector provides the best balance of control, comfort, and Apple Pencil performance.
Start Here
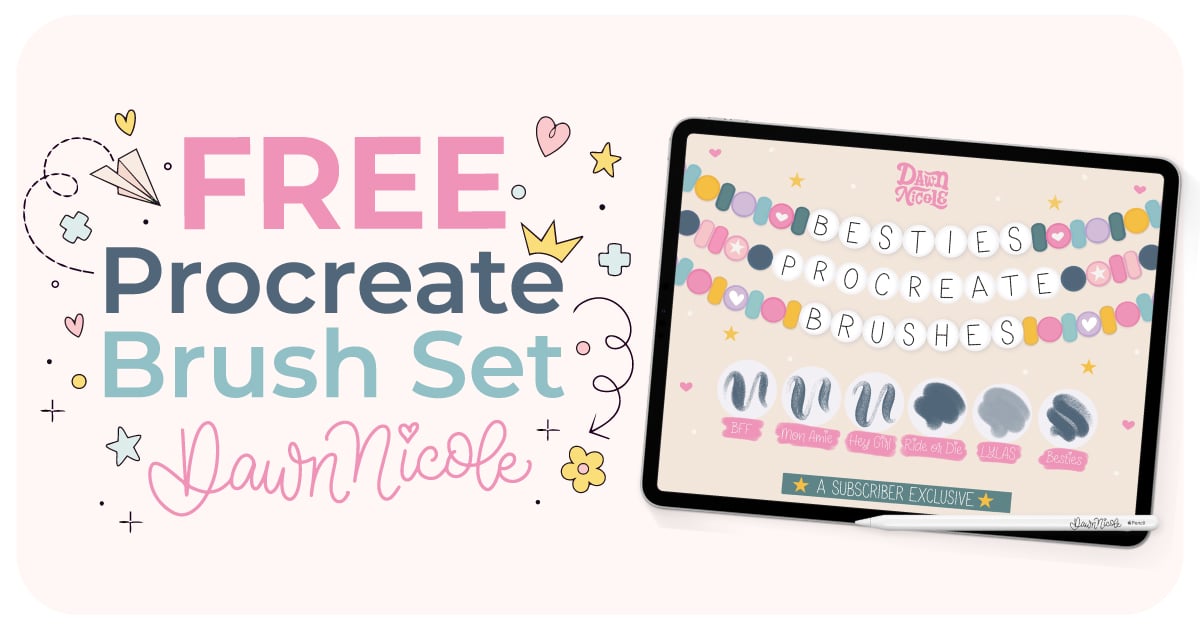
- Get my FREE Besties Procreate Brush Set
- Procreate Tutorials: 100+ Free Video Lessons
- Subscribe to My YouTube Channel

Even More Procreate Tutorials Coming Soon…
Happy Creating!


